

 Robert
How Hard Is It To Repair Alternator Bearing By Yourself
Alternator bearings are critical components that allow the alternator rotor to spin smoothly, ensuring stable power generation for your car’s...
Quick Answer — 8 Steps
Clean and inspect the shaft
Slide the bearing into position
Lightly bolt the housing down
Set the final mounting position by hand
Fully torque the housing bolts
Confirm the shaft moves axially
Tighten the collar set screws to spec
Lock the expansion unit (if applicable)
Most pillow block bearing failures aren't caused by a bad bearing.
They're caused by a skipped step during installation.
We've seen it happen with set-screw units on conveyor lines and with SAF split blocks in heavy mill equipment alike—the bearing was fine, but the installation wasn't.
This guide covers the full installation process from shaft prep to final torque check, with the actual numbers (torque values, clearance targets, re-lubrication intervals) you need to do the job right.
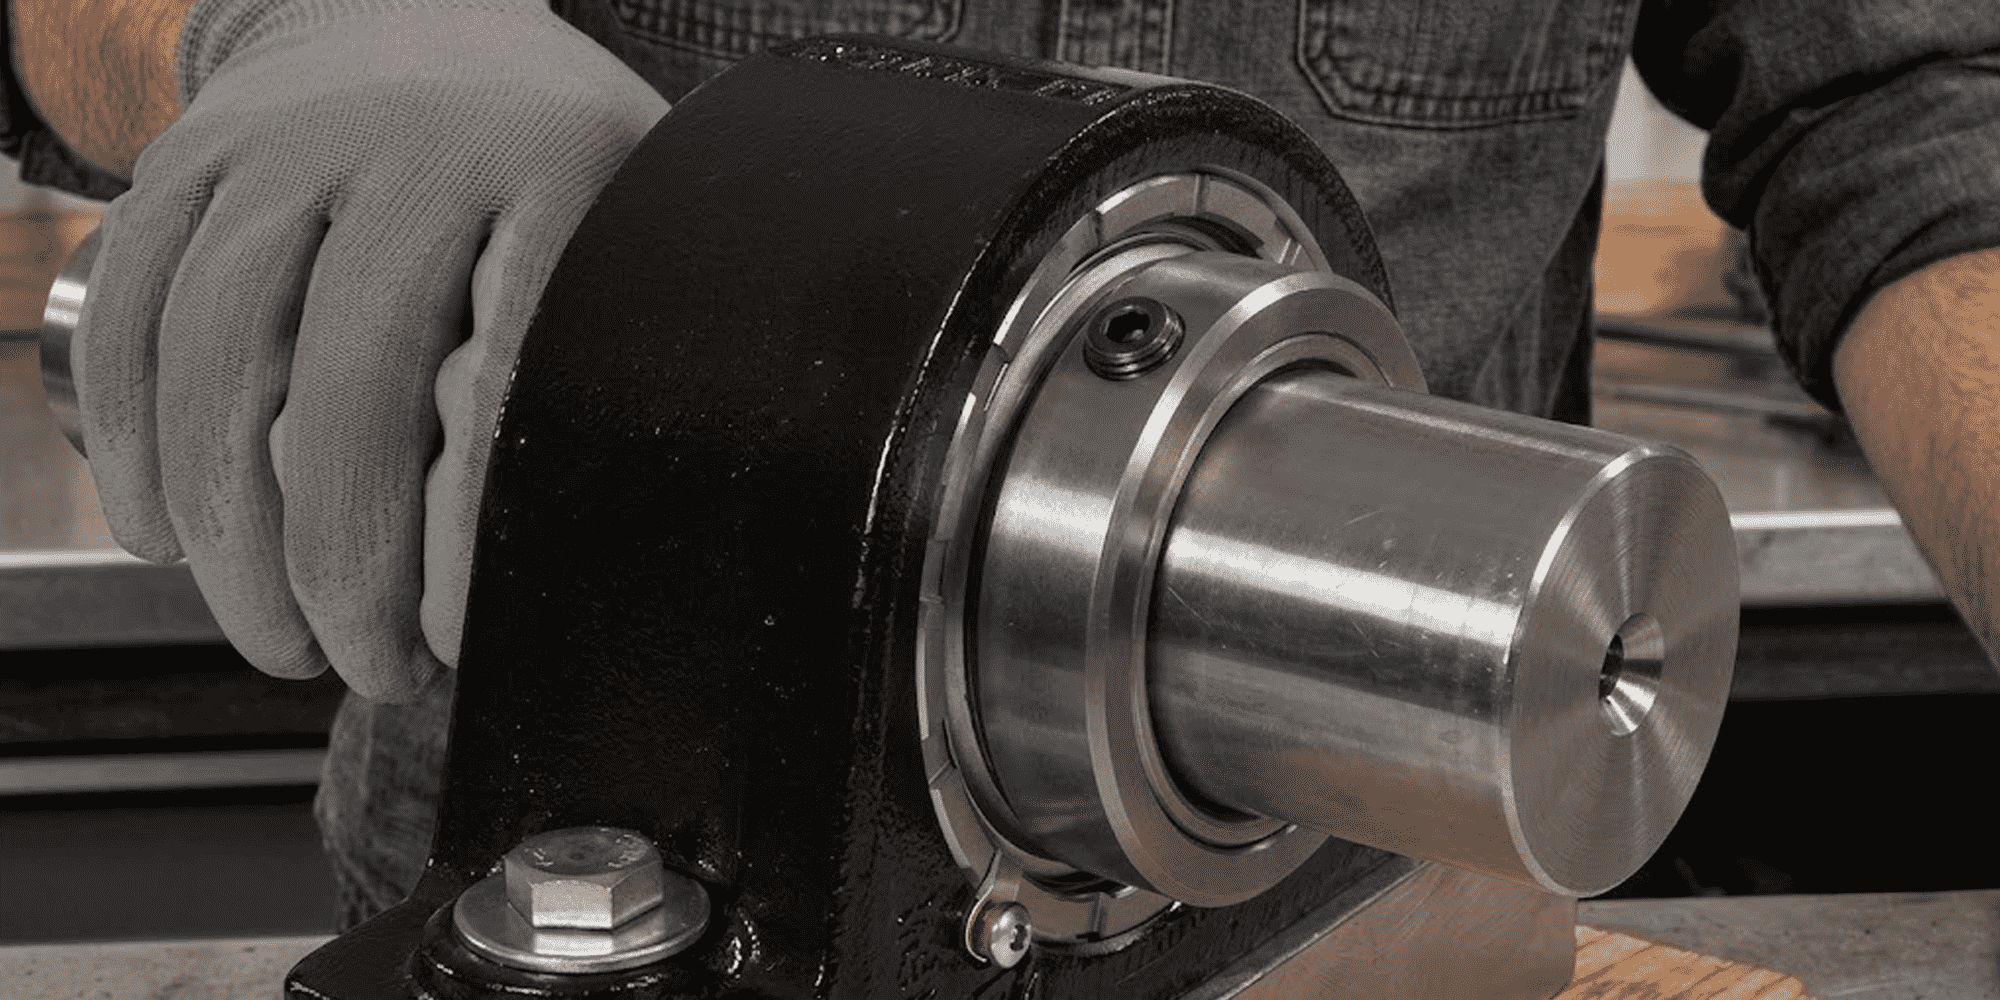
A pillow block bearing is a pre-assembled mounted unit—housing, bearing, seals, and grease all included.
You bolt it to a flat surface and the shaft runs parallel to that surface.
That's the core idea.
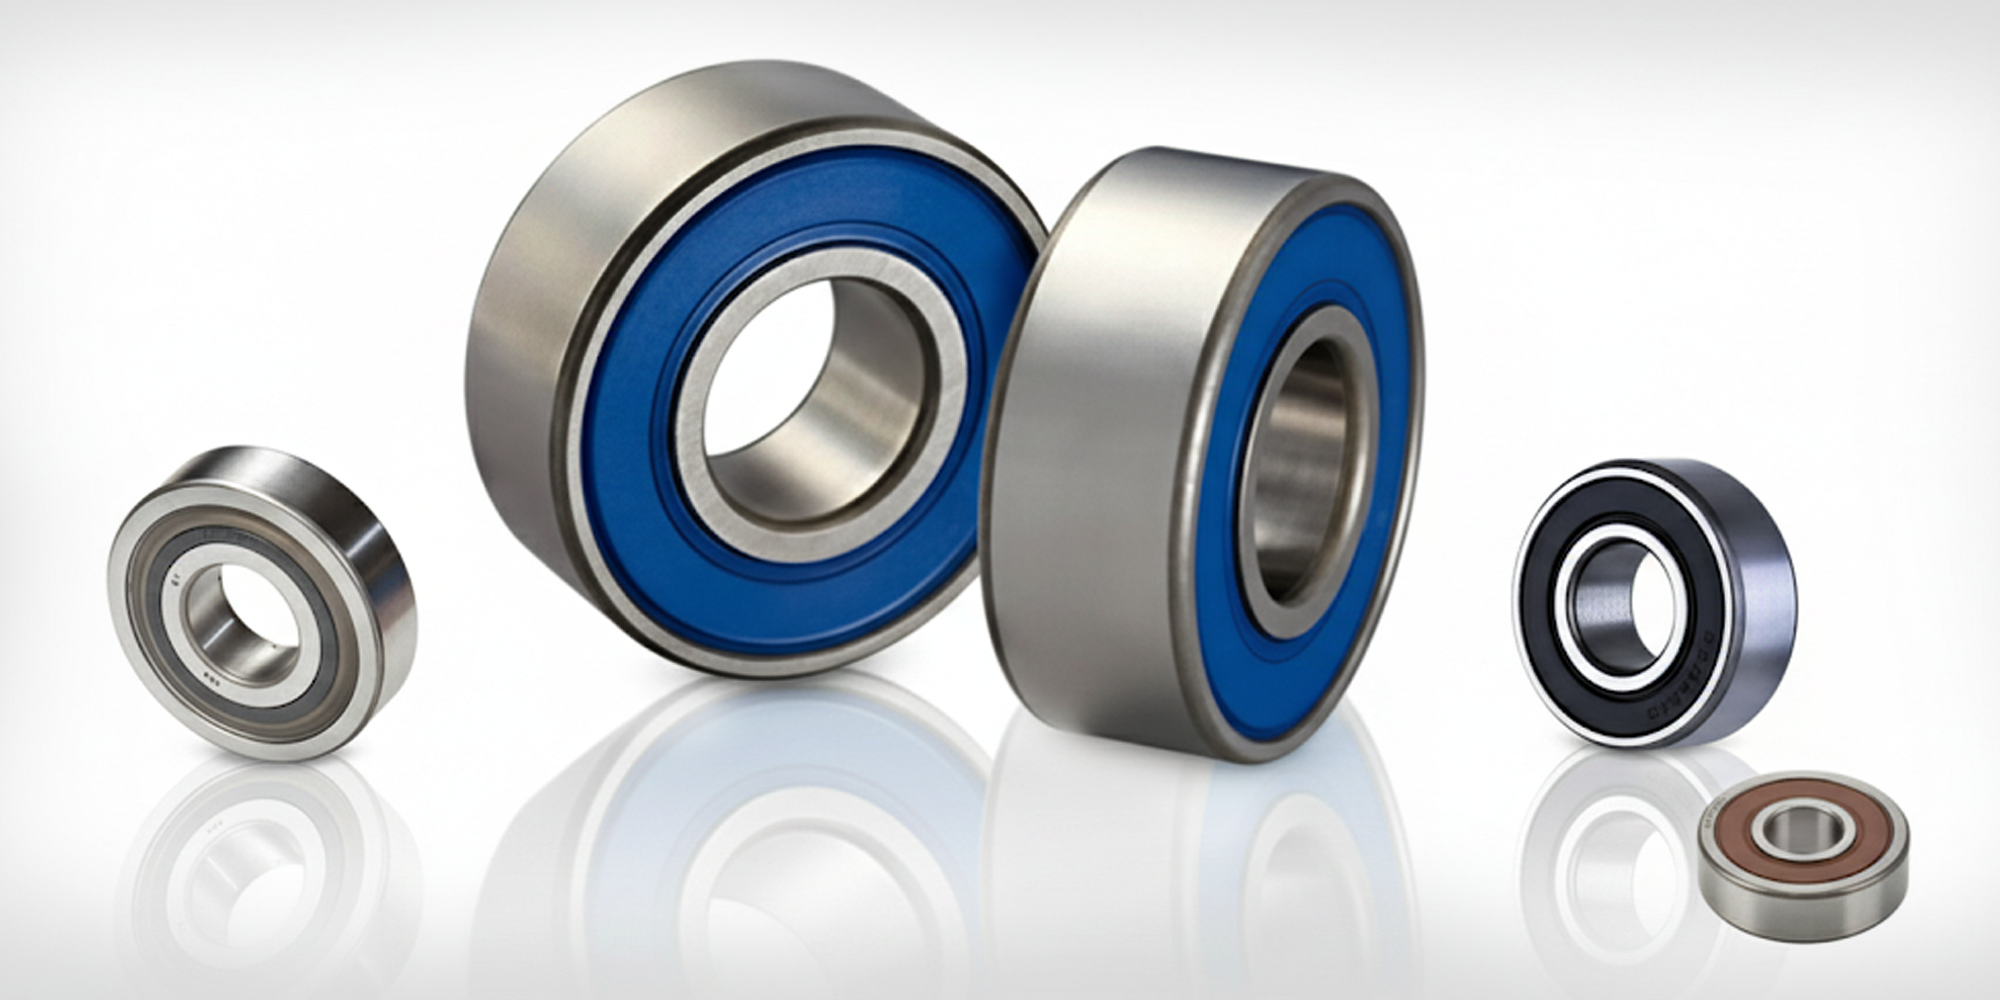
Housings are most often cast iron, ductile iron, or steel.
Inside, you'll find ball bearings, cylindrical rollers, or spherical rollers depending on the load requirements.
Units come pre-greased and sealed from the factory, so installation is faster than working with loose bearings.

Want a deeper look at housing types, bearing internals, and how to choose the right unit? See our full guide: What Are Pillow Block Bearings →
One thing worth knowing before you start: most installations use two units—a fixed bearing at one end and an expansion bearing at the other.
The expansion unit allows the shaft to grow axially as it heats up, so the two bearings don't preload against each other.
We'll cover this in Step 8.
How the bearing grips the shaft affects both holding power and how you install it.
The steps in this guide apply to the two most common types: set screws and set collars.
The SAF section below covers adapter sleeve locking.
Not sure whether a pillow block or flange unit is right for your application?
Pillow Block vs. Flange Units: Full Comparison →
Torque wrench
Allen (hex) wrench set
Rubber or soft-face mallet
Hardwood block or soft steel tube
Feeler gauge (SAF units)
Spanner wrench (SAF units)
Fine sandpaper or Scotch-Brite pad
Light machine oil
Clean lint-free cloths
Heavy or spring-lock washers
PPE: steel-toe boots, safety glasses, and clean gloves.
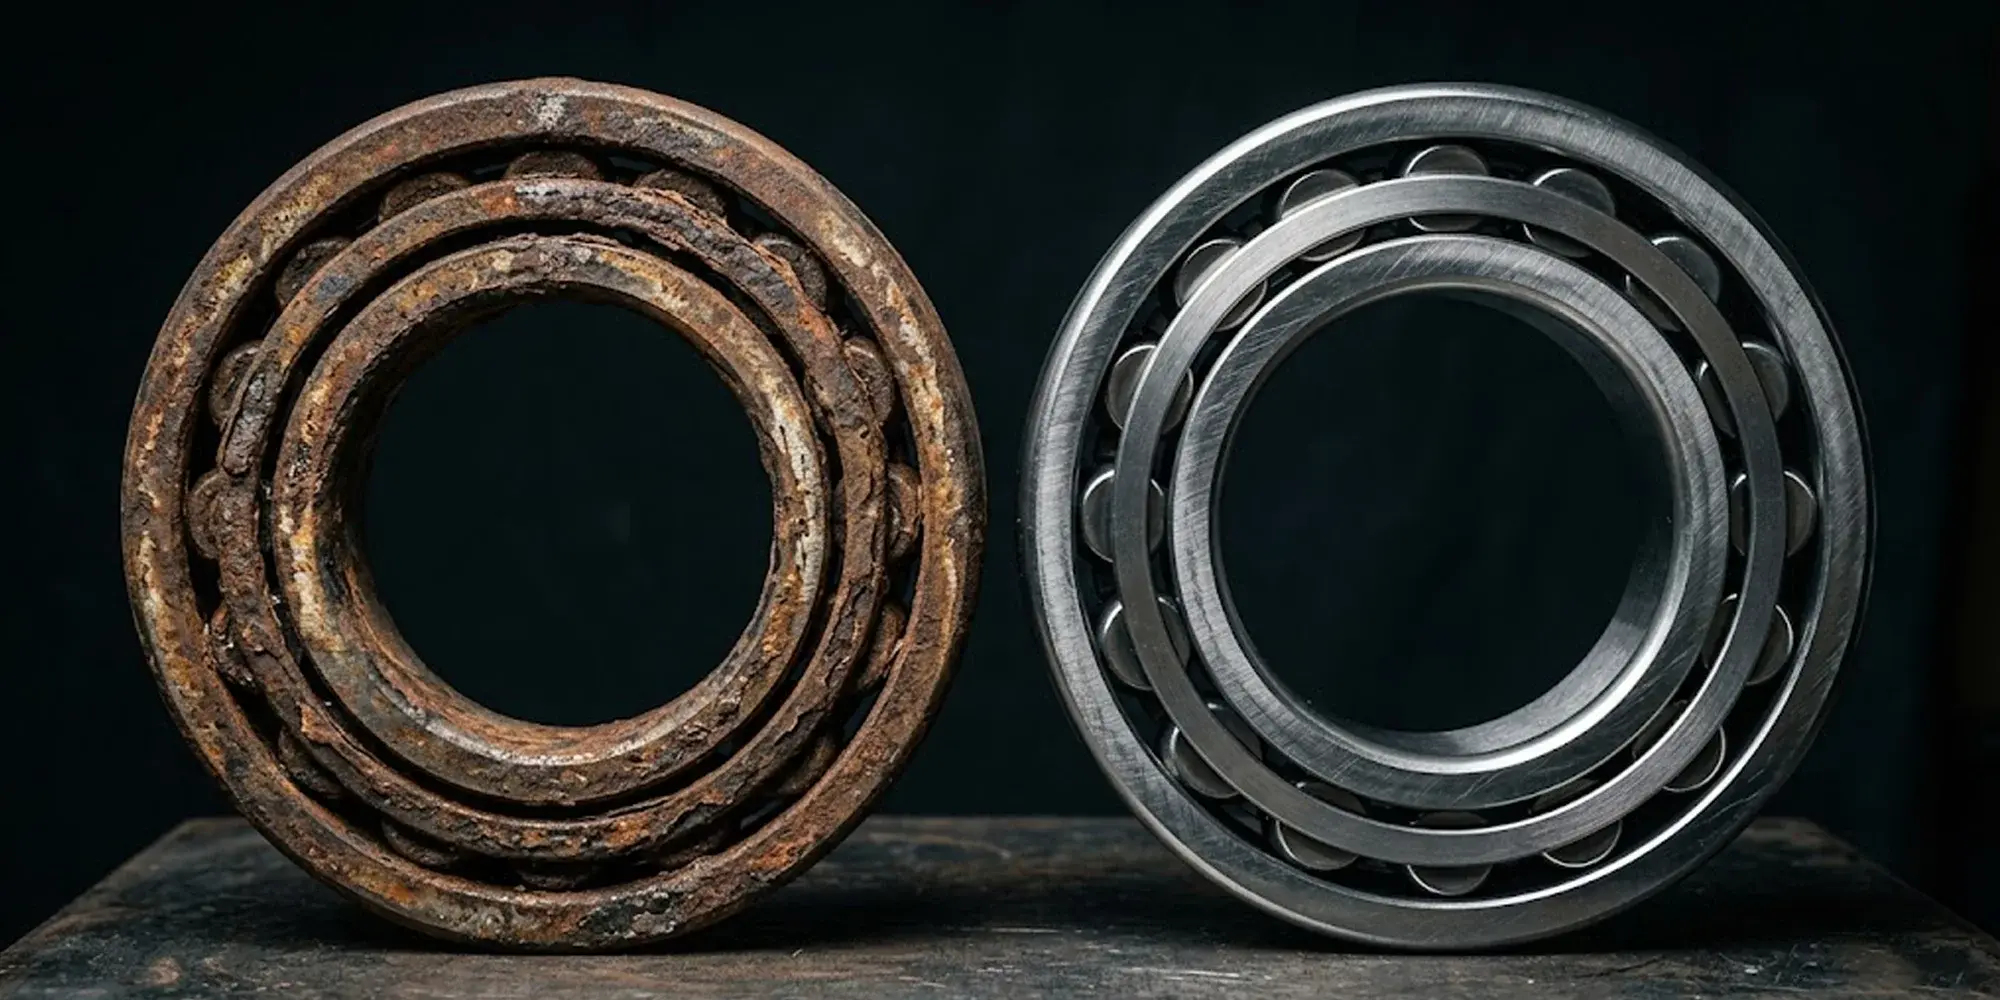
The gloves matter more than people think—grease contaminated with metal particles or shop dust during installation is one of the top causes of early bearing failure.
⚠️ Lock out / tag out first
Turn off and lock out the power source before touching anything. An unexpected machine start during installation causes serious injury. No exceptions.
These steps cover the most common configuration: set-screw or set-collar locking, with one fixed unit and one expansion unit.
If you're working with an adapter sleeve (SAF-style), jump to the SAF section below.
Before opening the bearing packaging, sort out the shaft.
Check it for rust, burrs, nicks, or any out-of-round condition.
A shaft that's out of spec will cause problems no matter how carefully you install the bearing.
Remove surface rust with fine sandpaper or a Scotch-Brite pad.
Wipe clean with a lint-free cloth, then apply a thin coat of light machine oil.
Mark the target mounting position with a grease pen—it's easy to lose track once the bearing is sliding on.
✅ Check diameter first
Verify the shaft diameter matches the bearing bore spec before you open the packaging. Installing on an undersized shaft is one of the most common setup errors—and it's invisible until the bearing starts slipping under load.
Not sure which size to order? Pillow Block Bearing Size Chart: How to Determine the Right Size →
Open the bearing packaging only when you're ready.
Slide the bearing onto the shaft to your marked position.

Most of the time it goes on by hand.
If it's tight, place a hardwood block or soft steel tube against the inner ring only and tap gently with a mallet.
That's the only place you should ever apply force.

⚠️ Never strike the housing or seals
Any impact on the outer housing travels straight through the rolling elements. Even a few sharp blows can create brinelling—small dents in the raceways that show up as noise and vibration from day one.
Start all housing bolts finger-tight—don't torque them yet. Use Class 8.8 bolts or better.
Lower-grade bolts stretch under load and lose clamping force over time.
Place heavy washers or spring-lock washers under each bolt head.
The washer needs to bridge over the housing mounting slot, not sit inside it. Inside the slot, it does almost nothing.
Bridging over it keeps the bolt tight under vibration.

With bolts still finger-tight, align both bearing units by hand or a rubber mallet.
Keep misalignment under 5°—beyond that, raceway stress climbs fast.
This is your last chance to adjust before everything gets locked down.

Tighten to the manufacturer's specified torque—don't guess by feel.
Over-tightening distorts the housing bore; under-tightening lets the unit shift in service.
Work in a crisscross pattern, at least two passes from finger-tight to full torque.

Before you touch the set screws, try sliding the shaft axially through both bearing bores.
It should move freely.
Here's the thing: this is the step most installers skip when they're in a hurry.
If the shaft won't slide, the two bearings are already loaded against each other.
Running the machine in that condition generates heat fast and shortens bearing life dramatically.
Loosen the housing bolts, realign, and repeat Step 4.

Now lock the bearing to the shaft.
Start with one set screw at roughly half the final torque.
Tighten the second to the same partial torque.
Rotate the shaft a quarter turn, then alternate between the two screws until you reach the full spec.
That alternating sequence seats the collar evenly.
Fully tightening one screw before touching the other tilts the collar on the shaft—and you won't see it until the bearing starts failing.

✅ Re-check after first startup
New installations settle. Come back after the first few hours of operation and re-torque the set screws. It takes 5 minutes and prevents most early failures.
Lock the fixed bearing first—always.
Then slide the expansion bearing axially until it sits centered in its housing bore, with equal clearance on both sides.
Lock it there.
If you lock the expansion unit off-center, it can only accommodate shaft growth in one direction.
When the shaft heats up and tries to expand the other way, it loads both bearings.
The fix is simple: take 30 seconds to center it before tightening.
.png?width=1000&height=308&name=Sliding%20expansion%20pillow%20block%20bearing%20axially%20into%20centered%20position%20on%20the%20shaft_compressed%20(1).png)
SAF-style split pillow block bearings are built for heavy-duty work—mining, cement, pulp and paper.
The housing splits in two halves, and the bearing mounts on a tapered adapter sleeve rather than clamping directly to the shaft.

Installation is more involved, but the payoff is significant: you can replace the bearing without disassembling the shaft or removing adjacent drive components.
You'll need everything in the standard list, plus: a feeler gauge, a spanner (hook) wrench, a small punch and hammer, and a ratchet with sockets.
Clean the shaft and mark the target mounting position.
Bolt the housing base squarely to a flat support plate—an unlevel base causes misalignment that no amount of careful installation will fix.
Open the bearing packaging and use a feeler gauge to measure the unmounted RIC.
Set the bearing flat and insert the largest blade that still pulls out cleanly between the rollers and outer raceway.
Write this number down. You'll use it to confirm you've achieved the right clearance reduction during mounting.
For reference: a 22216 bearing typically has an unmounted clearance of ~0.072 mm. The target reduction during mounting is 0.045–0.060 mm, leaving a final clearance of 0.012–0.027 mm
Slide the following parts onto the shaft in this exact sequence:
Seal ring
Adapter sleeve — thread end facing outward
Bearing
Lock washer — tangs facing out
Locknut — chamfered face toward the bearing, hand-tight only
Jack the shaft slightly to remove load from the inner race.
Measure the mounted RIC with the feeler gauge.
Using the spanner wrench, tighten the locknut in 1/8-turn increments, checking clearance after each turn.
Stop when the clearance reduction hits the target range from the manufacturer's spec sheet.
⚠️ For shaft sizes 3-15/16″ and larger
You must verify the ZERO Reference Point. Tap the locknut O.D. with a hammer, then try to rotate the nut with both hands. If it won't rotate, you've reached the Zero Reference Point and can proceed. If it still rotates, keep tightening.
Bend a lock washer tab into a locknut groove using a punch and hammer.
If no tab lines up, tighten the nut slightly until one does.
Never loosen the nut to find alignment—that releases the clearance you just dialed in.
Hand-pack the bearing with NLGI #2 lithium complex grease until grease purges from the opposite side.
Fill the housing base cavity to the shaft's bottom level.
Lower the assembly carefully into the housing.
If the outer rings resist, rotate and slide gently—don't force them.
Choosing between lip seals and labyrinth seals for your SAF unit?
Pillow Block Bearing Seals: Lip vs. Labyrinth
Housing bases and caps are matched sets—never swap them between units.
Grease the seal grooves in the cap.
Wipe the mating surfaces clean.
Align the dowel pins and lower the cap into position.
Torque the cap bolts to the values in the manufacturer's table (ISAF Grade 5 bolts range from 24 ft-lbs for 3/8-16 bolts on small shaft sizes up to 512–640 ft-lbs for 1-8 bolts on 4-15/16″ to 7″ shafts).
Rotate the shaft by hand. It should turn smoothly with no binding.
Any resistance means seal interference—loosen the housing and check.
Then torque the housing base mounting bolts per the fastener grade specification.
Applies to Imperial IP and ISAF bearing units. Source: ISAF bearing series technical specification manual.
Based on standard re-lubrication guidelines for NLGI #2 lithium complex grease.
Halve these intervals for every 25°F above 150°F, or in contaminated/wet environments.
Any impact on the housing travels through the rolling elements.
A few hard blows create brinelling—tiny dents in the raceways.
The bearing will run rough from the start and fail well before its rated life.
Always use a block or sleeve against the inner ring only.
This is the most skipped step on a busy job site.
If the shaft can't slide freely through both bearings before the set screws go in, the fixed and expansion bearings are already fighting each other.
That generates heat fast. Take 60 seconds and do the check.
The washer needs to bridge over the slot, not sit inside it.
A washer inside the slot provides almost no resistance to loosening under vibration.
Bridge it over the slot and the bolt stays tight far longer.
Tighten one screw all the way first and you'll tilt the collar on the shaft.
Alternate between screws in partial increments, rotating the shaft between passes.
It takes an extra 2 minutes and prevents a lot of early failures.
The expansion bearing must be centered in its housing bore before you lock it down.
Off-center, it can only accommodate shaft growth in one direction.
When the shaft expands the other way, both bearings take the load.
Center it, then lock it.
Most pillow block bearings ship pre-packed with NLGI #2 lithium complex grease.
For re-lubrication, use a grease in the same compatibility family.
Mixing incompatible base oils or thickener types causes rapid grease breakdown—sometimes within days.
How often you re-lubricate depends on speed, temperature, and load.
At 1,000 RPM and 150°F, a 1-1/8″ to 2″ shaft needs fresh grease roughly every 2 months.
Bump the speed to 2,000 RPM and that drops to about every 7–8 days.
See the table above for your specific combination.
For split housings with dedicated grease ports: inject at the input port until grease emerges at the discharge port.
For solid-housing units with a zerk fitting: add grease slowly and stop when you see it purging at the seals.
✅ Temperature rule of thumb
Every 25°F rise above 150°F cuts re-lubrication intervals roughly in half. If your application runs hot, build a tighter schedule—or look at an automatic lubricator.
Running in a wet, dusty, or high-temperature environment? Seal selection matters as much as grease selection.
Pillow Block Bearing Seals: Lip vs. Labyrinth Guide
Always lock the fixed (non-expansion) unit first.
Then center the expansion bearing in its housing bore and lock it second.
Doing it the other way around makes it nearly impossible to center the expansion unit correctly.
Always use the manufacturer's torque specification.
If a torque wrench isn't available, tighten until you feel a clear, permanent twist in the Allen wrench—not just resistance, but actual deflection.
After first startup, re-check and re-torque.
New installations settle, and screws can lose clamping force in the first few hours of operation.
For split housings, the base and cap are machined as a matched set. Keep them together—never swap caps between units.
You can reuse the housing if it's clean and the bore shows no scoring or damage.
For solid housings, inspect the bore carefully before reusing.
Most bearings are pre-packed with NLGI #2 lithium complex grease.
For re-lubrication, use a compatible NLGI #2 lithium complex.
Check the bearing datasheet for high-temperature, food-grade, or high-water-exposure applications—those require specialty formulations.
When in doubt, contact the bearing manufacturer's application engineering team.
In our experience, the top causes are: contamination during installation (dirty shaft or grease), misalignment between fixed and expansion units, incorrect set screw torque, impact damage to the housing or outer ring during mounting, and missed re-lubrication intervals.
Most early failures trace back to the installation process, not a defective bearing.
Honestly, the steps that trip people up aren't the complicated ones.
It's Step 6 (axial movement check), the washer position in Step 3, and centering the expansion unit in Step 8.
Each one takes under a minute.
Each one prevents a lot of headaches down the line.
Do those right, set a re-lubrication schedule, and you're done.
For shaft tolerance standards that affect bearing fit and performance, see our guide: Mounted Bearing Installation: H7 Standards.
Technical note:
Torque values and clearance figures in this guide are sourced from industry-standard bearing manufacturer technical manuals. Always refer to the specific instruction manual for your bearing model and application. Lily Bearing assumes no liability for installations performed without consulting the relevant manufacturer specifications.
Alternator bearings are critical components that allow the alternator rotor to spin smoothly, ensuring stable power generation for your car’s...

Needle roller bearings pack a high load capacity into a radial cross-section that can be 3–4 mm thin. That combination of small envelope and strong...
Corrosion-resistant bearings come in two broad approaches: use a material that resists corrosion intrinsically, or use a standard bearing with a...