

 Richard
Linear Guide Installation: Step-by-Step Guide
Linear rail guides are engineered for applications requiring precise motion and strong load capacity. However, incorrect installation can introduce...
Needle bearings play a crucial role in applications where space, load capacity, and reduced friction are essential.
Proper installation is critical for ensuring that needle bearings function as intended.
The objective of this blog is to provide practical tips for successfully installing needle bearings.
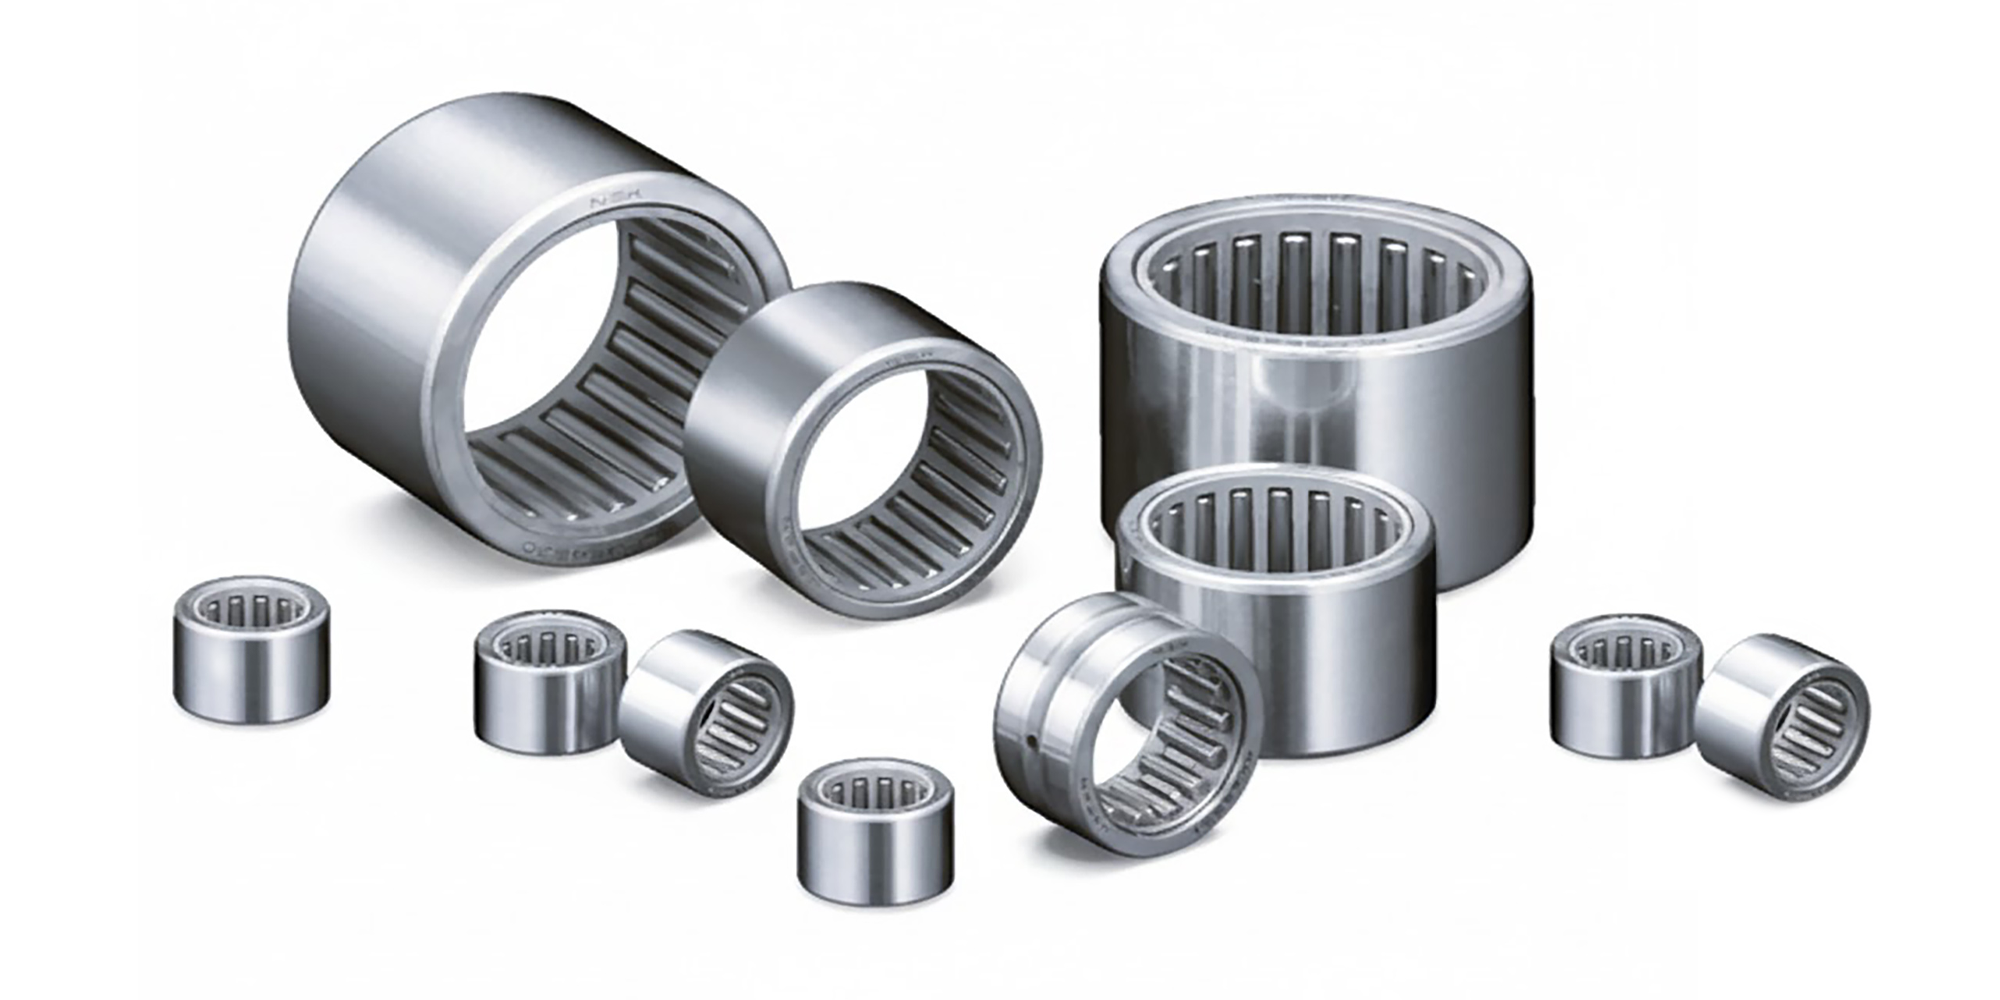
Needle bearings — also called needle roller bearings — are a specialized subtype of roller bearings that use long, thin cylindrical rollers to carry radial loads.
Their defining characteristic is an exceptionally high length-to-diameter ratio, typically between 3:1 and 10:1, allowing them to handle very high radial loads in confined spaces.
They are widely used in automotive transmissions, two-stroke engines, aerospace actuators, and precision machine tools.
Over 80% of premature bearing failures are attributable to installation error, incorrect lubrication, or contamination — all entirely preventable.

|
Type |
Configuration |
Best Application |
Complexity |
|
Drawn Cup (Shell) |
Thin outer shell, no inner ring |
Automotive con-rods, small motors |
Moderate |
|
Solid Race |
Machined inner & outer rings |
Heavy-duty gearboxes, machine tools |
High |
|
Caged Roller Assembly |
Rollers in cage, no rings |
Planetary gear sets, transmissions |
Moderate |
|
Thrust Needle |
Axial load configuration |
Clutch packs, steering columns |
Specialized |
|
Combined Needle/Angular |
Radial + axial capacity |
Robotics, servo actuators |
Expert |
Make sure the work area is clean, free of dust and clutter before starting installation. Check the dimensions and geometry of the shaft and housing to ensure they meet the bearing requirements.
Here are the essential tools required for properly installing needle bearings:
|
Tool |
Purpose |
Status |
|
Bearing Press / Arbor Press |
Apply controlled, even force for press-fit installation |
Required |
|
Fitting Sleeve Set |
Transmit press force to correct ring face only |
Required |
|
Digital Micrometer (0.001mm) |
Verify shaft and housing bore diameter |
Required |
|
Dial Indicator + Magnetic Base |
Check runout and alignment after installation |
Recommended |
|
Induction Heater |
Thermal expansion for interference-fit installation |
Recommended |
|
Bearing Grease / Oil |
Lubrication during and after installation |
Required |
|
Lint-Free Cleaning Cloths |
Clean mating surfaces before assembly |
Required |
|
Snap Ring Pliers |
Install retaining rings to secure bearing axially |
If applicable |
⚠ WARNING: Never strike a bearing directly with a hammer. Always use a properly sized fitting sleeve to distribute force evenly across the ring face to prevent brinelling damage.

Pre-installation preparation has the single greatest impact on bearing longevity. Investing time in thorough preparation can extend bearing service life by years.
|
Fit Type |
Deviation |
Typical Application |
Installation Method |
|
Interference (Press) Fit |
Shaft OD > Bearing ID by 0.005–0.025mm |
Rotating inner ring |
Press or thermal expansion |
|
Transition Fit |
±0.005mm nominal |
Moderate loads, removable |
Light press or hand push |
|
Clearance Fit |
Shaft OD < Bearing ID by up to 0.010mm |
Stationary inner ring |
Hand installation |
Always clean all mating surfaces with a lint-free cloth and solvent before assembly. Inspect the new bearing for corrosion, roller skew, cage deformation, or pitting. Surface roughness of mating surfaces should typically be Ra 0.8 µm or better.
Follow this procedure for drawn-cup and solid-race needle bearings installed using a mechanical press:
Step 1 — Prepare Work Area: Establish a clean, well-lit assembly zone free of contamination.
Step 2 — Apply Lubricant to Housing Bore: Apply a thin, even film of assembly lubricant to the bore and bearing outer surface.
Step 3 — Align the Bearing Square: Confirm bearing face is parallel to housing face within 0.05mm before pressing.
Step 4 — Press Using a Fitting Sleeve: Apply steady, controlled press force via a sleeve bearing only on the outer ring face.
Step 5 — Confirm Full Seating Depth: Verify bearing is flush or at specified depth using a depth micrometer.
Step 6 — Install Shaft: Apply light lubricant to shaft journal and rotate slightly as it enters to align needle rollers.
Step 7 — Secure Axial Position: Install retaining rings, circlips, or end caps to prevent axial migration.
Step 8 — Verify and Final Lubricate: Manually rotate to check for smooth, consistent rotation with no rough spots.
✓ TIP — Thermal Method: For interference fits >0.02mm, heat the bearing to 80–100°C using an induction heater for easier, safer installation without risk of roller or cage damage.


Proper alignment of the needle bearing during installation is crucial to avoid damage and ensure smooth operation.
Misalignment can cause uneven wear, increased friction, and even bearing failure.
By aligning the bearing correctly with the shaft and housing, you help it function efficiently and extend its lifespan.
Lubrication plays a key role in the performance and longevity of needle bearings.
It reduces friction between the rollers and raceways, preventing excessive heat buildup and wear.
Proper lubrication also helps protect the bearing from contaminants, reducing the risk of corrosion and damage.
|
Lubricant |
Grease |
Oil |
|
Composition |
Thickened oil (semi-solid) |
Liquid lubricant |
|
Advantages |
- Stays in place longer |
- Excellent cooling properties |
|
Disadvantages |
- Less effective at cooling |
- Can leak or evaporate if not sealed properly |
|
Best For |
- Lower-speed applications |
- High-speed applications |
|
Environment |
- Better for preventing pollution |
- Better for cooling in high-temperature environments |
Correct lubricant selection and quantity is critical for needle bearings due to the extremely high contact pressures between rollers and raceway surfaces. Both under-lubrication and over-lubrication are harmful.
|
Operating Condition |
Recommended Lubricant |
Viscosity Grade |
Relubrication Interval |
|
Low speed, high load |
High-viscosity grease (NLGI 2–3) |
ISO VG 220–460 |
Every 2,000–4,000 hrs |
|
High speed, moderate load |
Low-viscosity oil mist |
ISO VG 32–68 |
Continuous circulation |
|
High temp (>120°C) |
Synthetic ester or PAO grease |
ISO VG 100–150 |
Every 500–1,000 hrs |
|
Food / clean room |
Food-grade H1 grease |
ISO VG 68–100 |
Per HACCP schedule |
|
Oscillating / low speed |
Adhesive grease (Li-Ca complex) |
NLGI 2, high base oil |
Every 1,000–2,000 hrs |
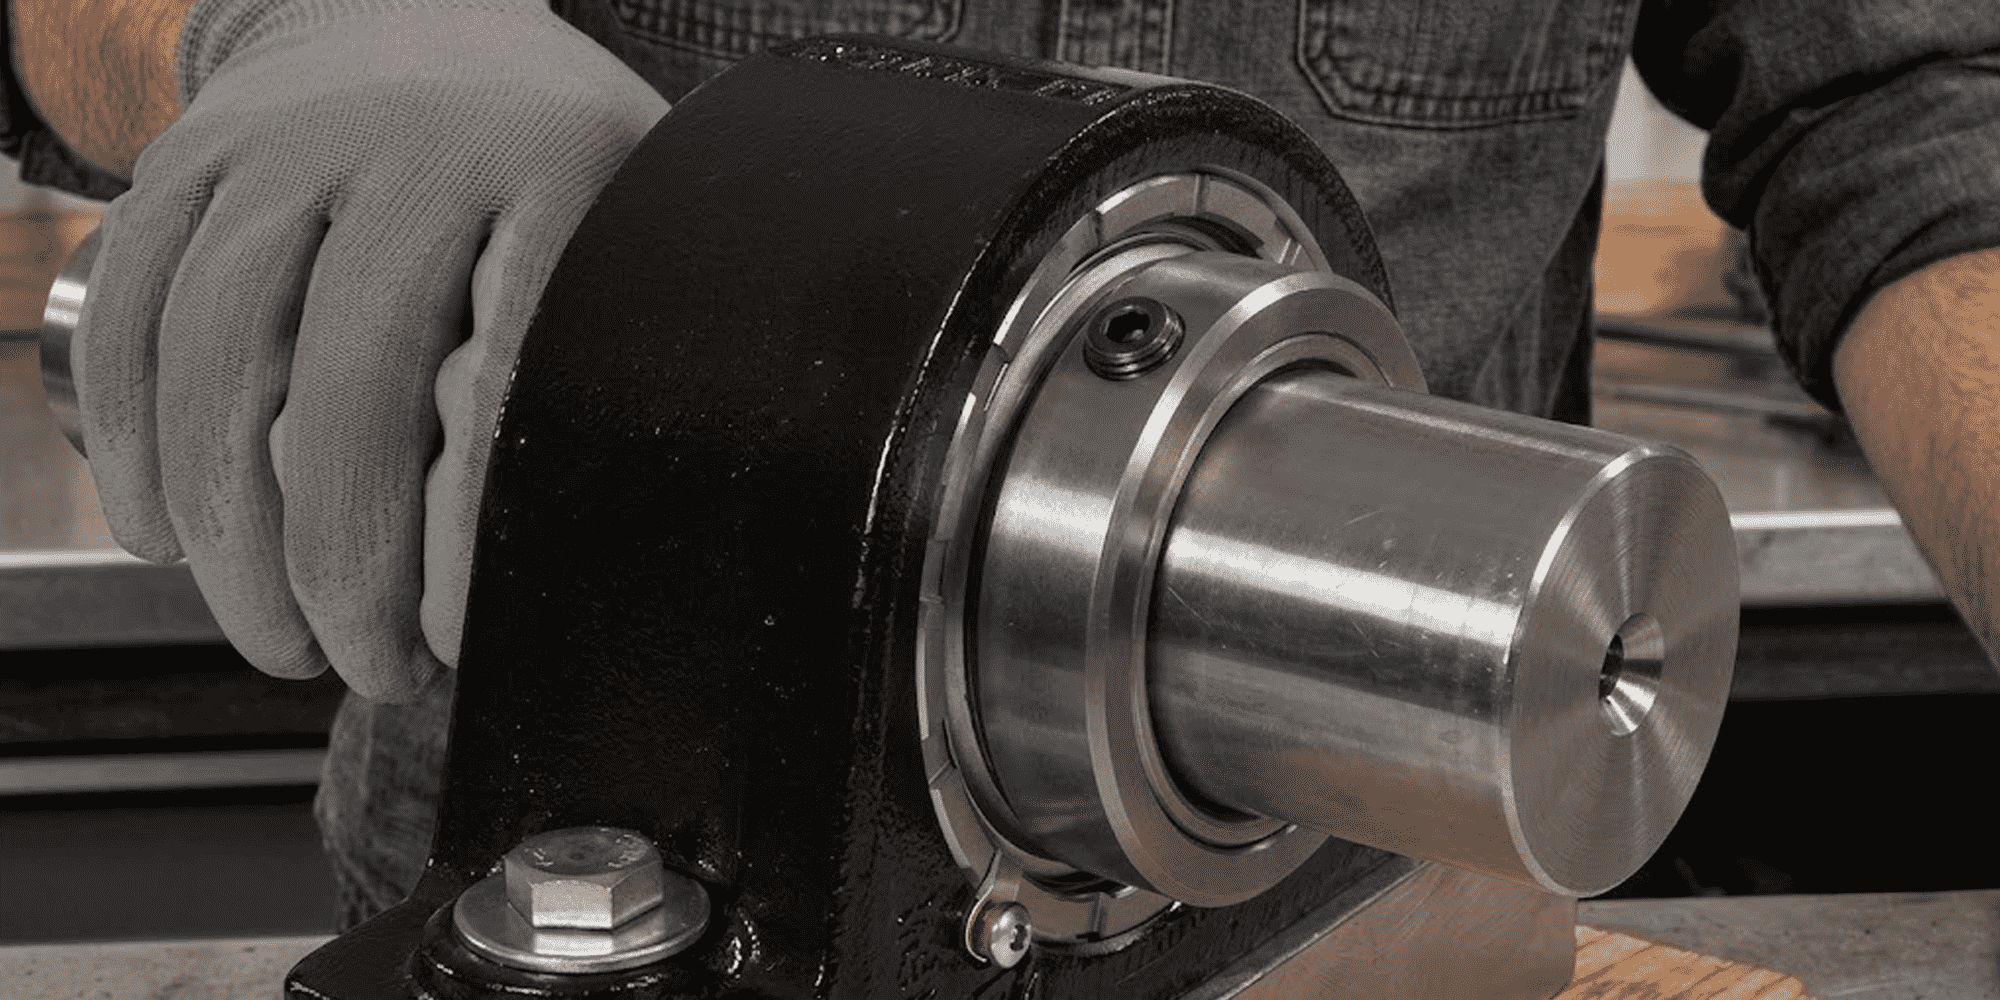
When installing needle bearings, it's highly recommended to use a bearing press or driver tool.
These tools apply steady, even pressure to the bearing during installation, ensuring it is seated correctly without causing damage.
Using a bearing press or driver helps avoid misalignment, distortion, or damage to the bearing race.
These issues can occur if pressure is applied unevenly or too forcefully by hand.
This method ensures a smooth and precise installation, prolonging the bearing's lifespan and ensuring optimal performance.
Avoid hammering the bearing into place when installing needle bearings. Using a hammer can cause uneven pressure, leading to damage of both the bearing and the housing.
Be careful not to apply too much force when installing needle bearings.
Excessive pressure can damage the bearing or its rollers, leading to problems like increased friction and early failure.
Always use the right tools to press the bearing in gently and evenly for a smooth installation.
Make sure the bearing is fully seated during installation, but avoid using excessive force.
Gently press it into place to ensure it fits securely without damaging the bearing or surrounding components.
Check the fit of the needle bearing after installation to ensure it is correctly seated.
Measure the bearing and housing to confirm that the bearing is properly aligned and fitted within the specified tolerances.
Manually rotate the bearing after installation to ensure it moves smoothly without obstruction.
Check for any unusual sounds or resistance that could indicate improper installation.
Ensure that the bearing can handle the intended load without any issues.
Inspect for signs of wear or damage under load conditions during testing.
Regular inspection and maintenance are important for keeping needle bearings in good condition.
Check the lubrication, make sure the bearing is properly aligned, and look for signs of wear.
Address any issues early to help the bearing last longer and work smoothly.
Recommend replacing the bearing if any damage or signs of failure are detected.
Improper alignment is a common cause of needle bearing failure.
When the bearing isn't aligned correctly, it causes uneven pressure, leading to wear and friction. (Here is How to Prevent Bearing Failures)
This can make the bearing fail early, so proper alignment is important for longer-lasting performance.
Don't use incorrect or makeshift tools when installing needle bearings.
Using the wrong tools can damage the bearing and housing, causing misalignment or deformation.
Always use the right press and driver tools to ensure a safe and proper installation.
A bearing press or bearing driver ensures even pressure, preventing damage to the bearing or housing.
These tools help seat the bearing correctly and maintain proper alignment.
Using the right tools minimizes the risk of errors. This extends the bearing’s lifespan and ensures smooth and reliable operation.
Lubricating the bearing before and during installation is crucial for proper needle bearing setup.
Lubrication helps reduce friction, making the installation process smoother and preventing damage to the bearing and housing.
It also ensures the bearing operates efficiently from the start and helps protect it from wear and corrosion.
Without enough lubrication, friction increases, which makes the bearing get too hot and wear out faster.
This can cause premature failure, and the bearing might stop working properly.
Proper lubrication helps the bearing run smoothly, stay cool, and last longer.
Forcing the bearing into place can cause permanent damage to both the bearing and the machine.
Applying too much pressure can deform the bearing, misalign it, or damage the housing.
Always use the correct installation tools. Apply steady, even pressure to avoid issues and ensure a proper fit.

Always handle needle bearings with clean, dry cotton gloves — fingerprint acids initiate corrosion pitting on polished raceway surfaces.
For tight interference fits, place the shaft in a freezer at –20°C for 2 hours to reduce press force by up to 40%.
When installing loose needle rollers in cageless designs, pack the raceway with petroleum-based assembly grease to hold rollers in position while the shaft is introduced.
Listen to the press — a smooth, gradually increasing tone indicates correct alignment. A sharp crack signals a problem.
Document all measured dimensions, lubricant type/quantity, and installer name for every installation for traceability.
Ensure shaft lead-in chamfer is smooth and burr-free (15°–30° angle, Ra < 1.6 µm) to prevent roller edge damage.
Never mix different grease types without fully purging old lubricant first — incompatible greases can cause rapid degradation.
Following best practices is essential when installing needle bearings. Always refer to the manufacturer's guidelines for specific instructions related to your equipment.
If you have any needs, please contact LILY Bearing.
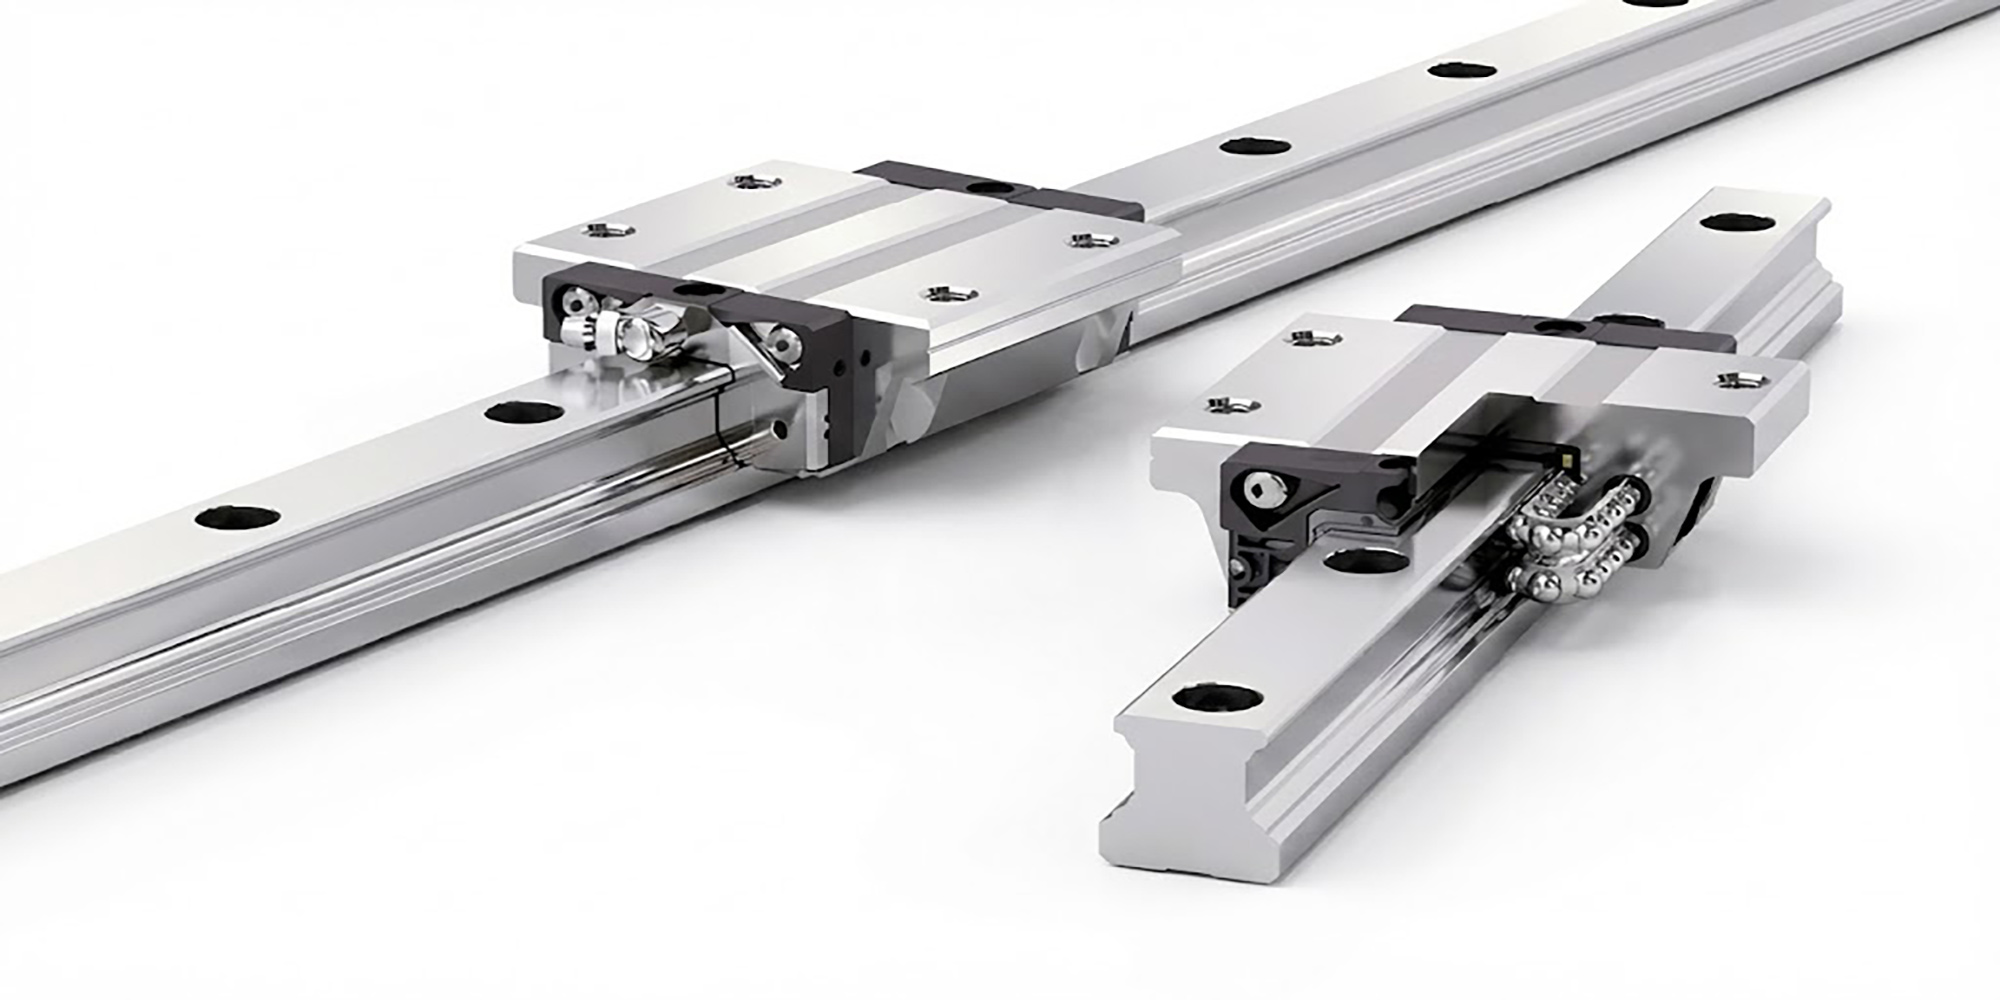
Linear rail guides are engineered for applications requiring precise motion and strong load capacity. However, incorrect installation can introduce...
Quick Answer — 8 Steps Clean and inspect the shaft Slide the bearing into position Lightly bolt the housing down Set the final mounting...
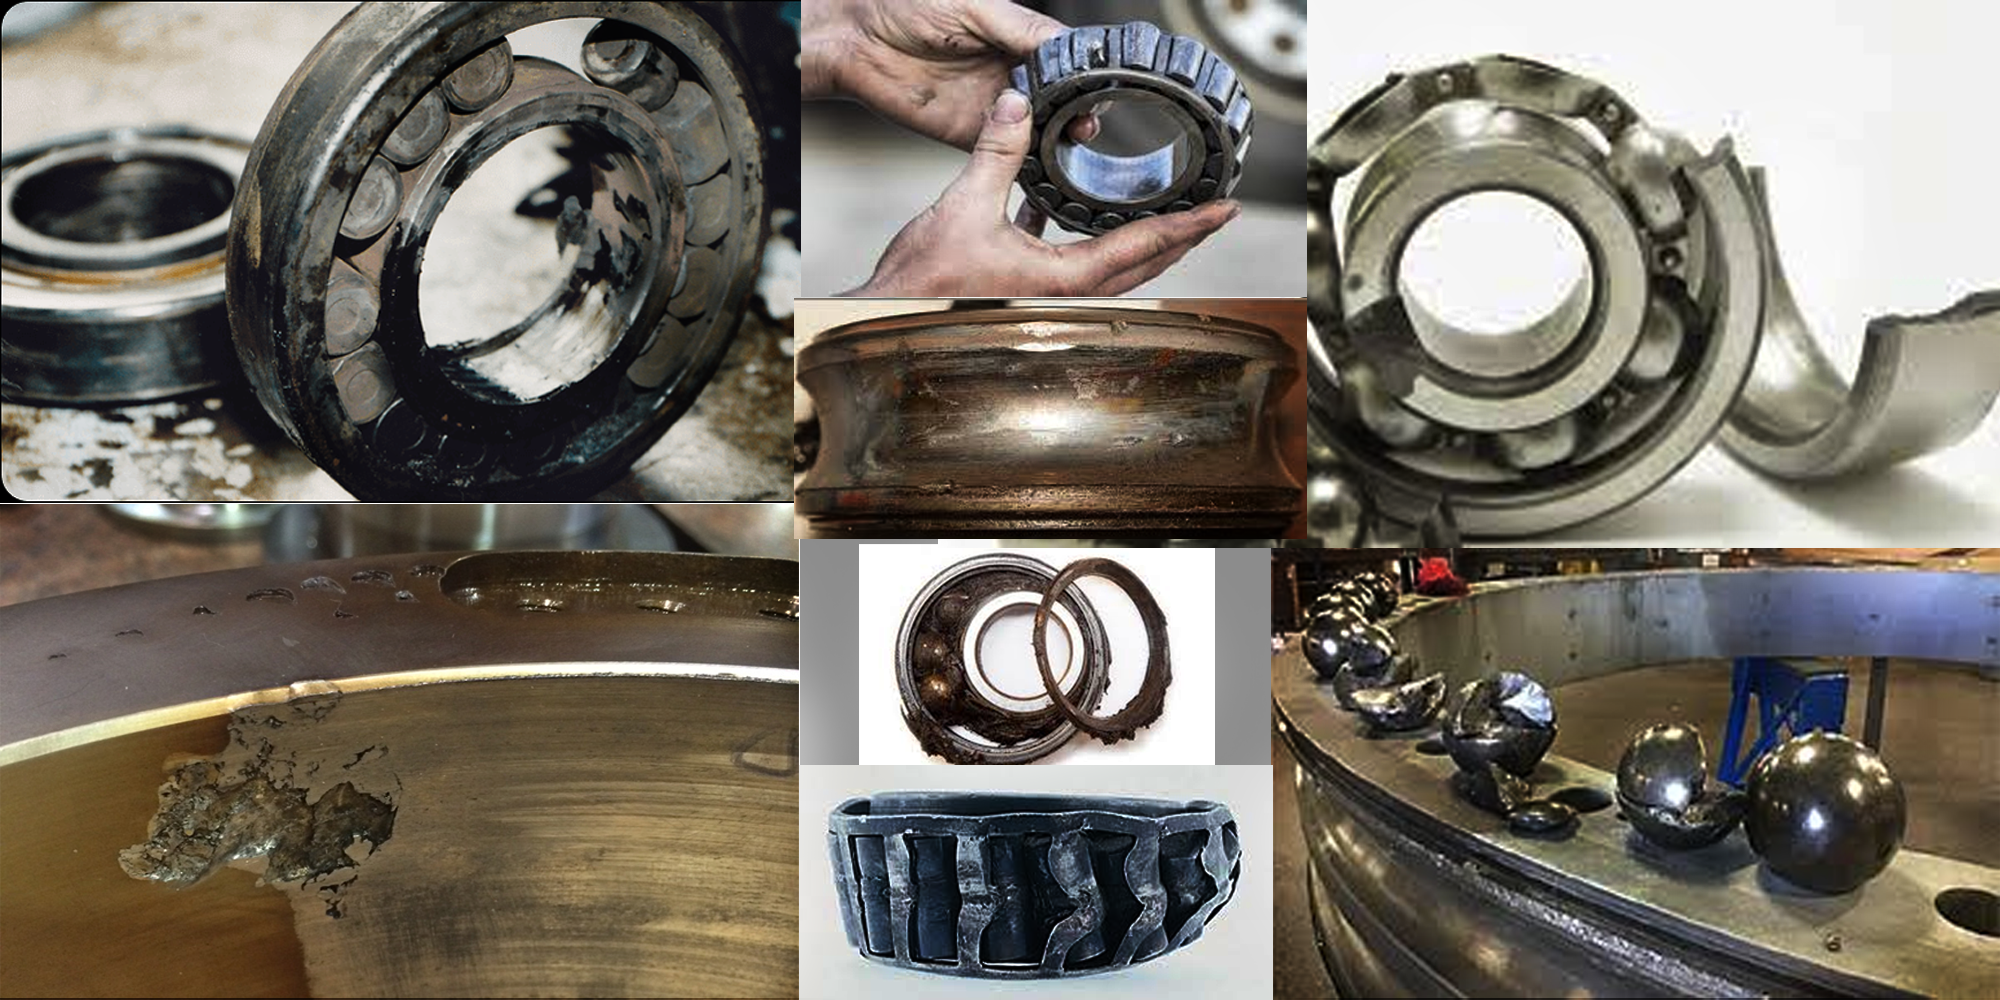
Bearing failures can be a major headache for any facility, causing increased downtime, high-maintenance costs, missed deliveries, loss of revenue...