

 Richard
How to Install Pillow Block Bearings: Step-by-Step Guide
Quick Answer — 8 Steps Clean and inspect the shaft Slide the bearing into position Lightly bolt the housing down Set the final mounting...
Mounted bearing—often referred to as pillow blocks or flange units—are the unsung heroes of the industrial world. They support rotating shafts, reduce friction, and handle significant loads in everything from conveyor systems to HVAC units.
However, even the highest-quality bearing from a top-tier manufacturer will fail prematurely if it isn't installed correctly. In fact, over 15% of premature bearing failures are attributed to poor mounting and installation.
This comprehensive guide explains everything you need to know about installing mounted bearings. It helps ensure maximum service life and operational efficiency.
Proper installation of a ball bearing unit is essential to achieving reliable performance. Failure to follow established mounting practices can lead to unsatisfactory operation and significantly reduced bearing service life.
Sound engineering and design principles generally advise against supporting a single shaft with more than two bearings.
Using more than two bearings on the same shaft can result in excessive internal loads and premature bearing failure.
When increasing the shaft size is not possible, using more than two bearings may be unavoidable. However, this configuration is generally not ideal. In such cases, precise alignment of all bearings in both the vertical and horizontal directions is critical.
When the recommended configuration of two bearings is used, alignment requirements are less stringent. Self-aligning mounted bearing units can further accommodate small mounting inaccuracies or structural misalignment.
For optimal results, shafts should be turned and ground, with smooth surfaces free of burrs or rough areas.
If an existing shaft is reused, mount the bearing units on smooth, minimally worn areas.
Before installation, both the shaft and the bearing bore should be thoroughly cleaned, and a light film of oil applied to the shaft. The bearing unit should then be slid into position. The inner ring ends must not be struck.
If extra force is needed during installation, apply it only to the inner ring using a soft metal bar or pipe. Gently tap the bearing unit into position.

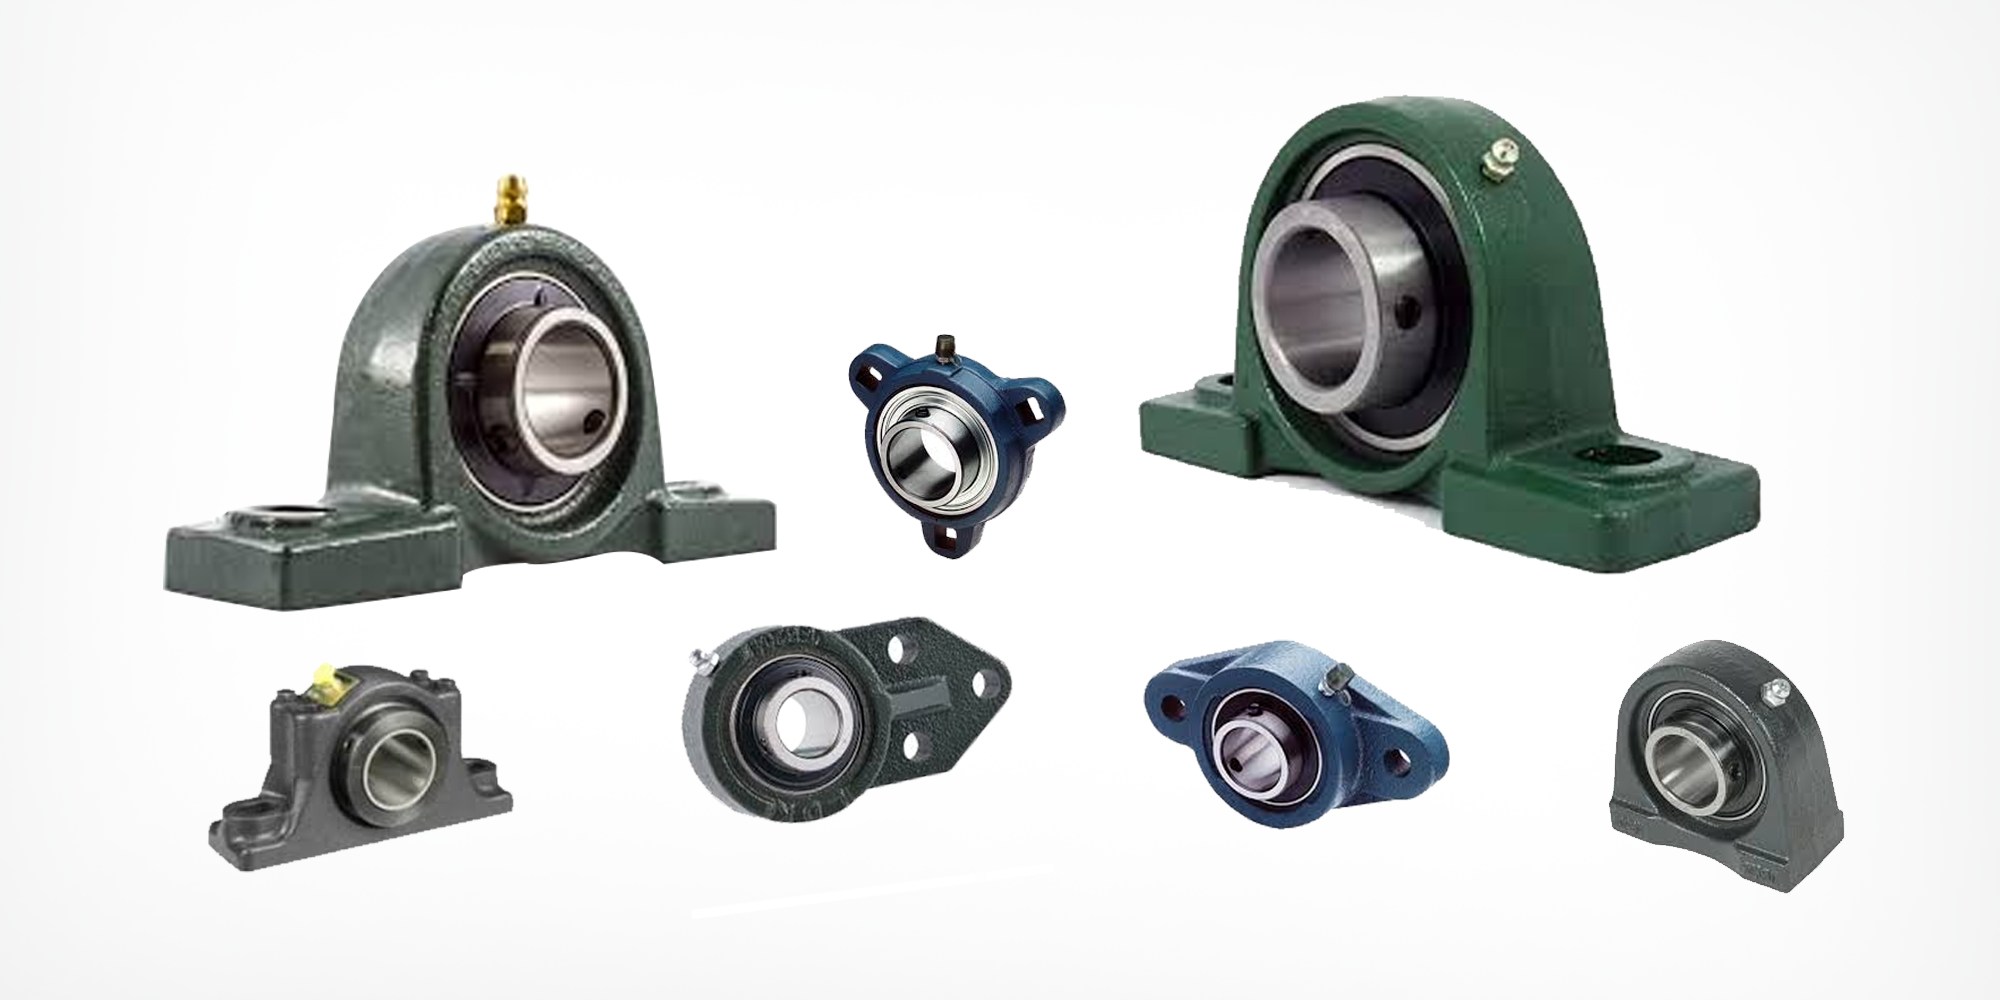
Before we pick up a wrench, it’s vital to identify which type of housing and locking mechanism you are working with.
Flange units are mounted vertically or on machine walls.
Common flange types:
Key features:
Applications: Gearboxes, food machinery, packaging equipment
Housing design: Slotted for axial adjustment
Primary function: Belt or chain tensioning
Advantages:
Applications: Conveyors, elevators, belt-driven systems
Preparation is the difference between a 10-minute job and a 4-hour headache.
The shaft is the foundation of your bearing's performance.
The surface where the housing sits must be flat and clean. If the surface is uneven, the housing can warp when the bolts are tightened, putting "pinch" pressure on the outer race.
Slide the bearing onto the shaft. Never hammer the bearing directly. If the fit is tight, use a soft-faced mallet or a sleeve that presses only against the inner ring.
Bolt the housing to the mounting surface. At this stage, leave the bolts "hand-tight." This allows the bearing to align itself with the shaft before you lock it down.
Misalignment is a silent killer. Ensure the shaft is centered within the housing. Most mounted bearings are self-aligning, meaning the internal insert can pivot within the housing. However, this capability is limited, typically to about ±2 degrees.
Torque the mounting bolts to the recommended specifications. Use a cross-pattern (star pattern) for flange units to ensure even pressure.
The method depends on your specific locking type.
Ensure the bearing is fixed to the shaft by tightening the dual set screws. In cases with significant vibration or axial thrust, it is recommended to modify the shaft interface. This can be done by machining a flat or pre-drilling a seat to improve the mechanical bond.
|
Set Screw Size |
Minimum |
Maximum |
|
10-32 |
20 |
22 |
|
1/4-28 |
31 |
35 |
|
5/16-28 |
70 |
74 |
|
3/8-24 |
138 |
143 |
|
7/16-20 |
200 |
210 |
|
*Inch/Lbs |
||
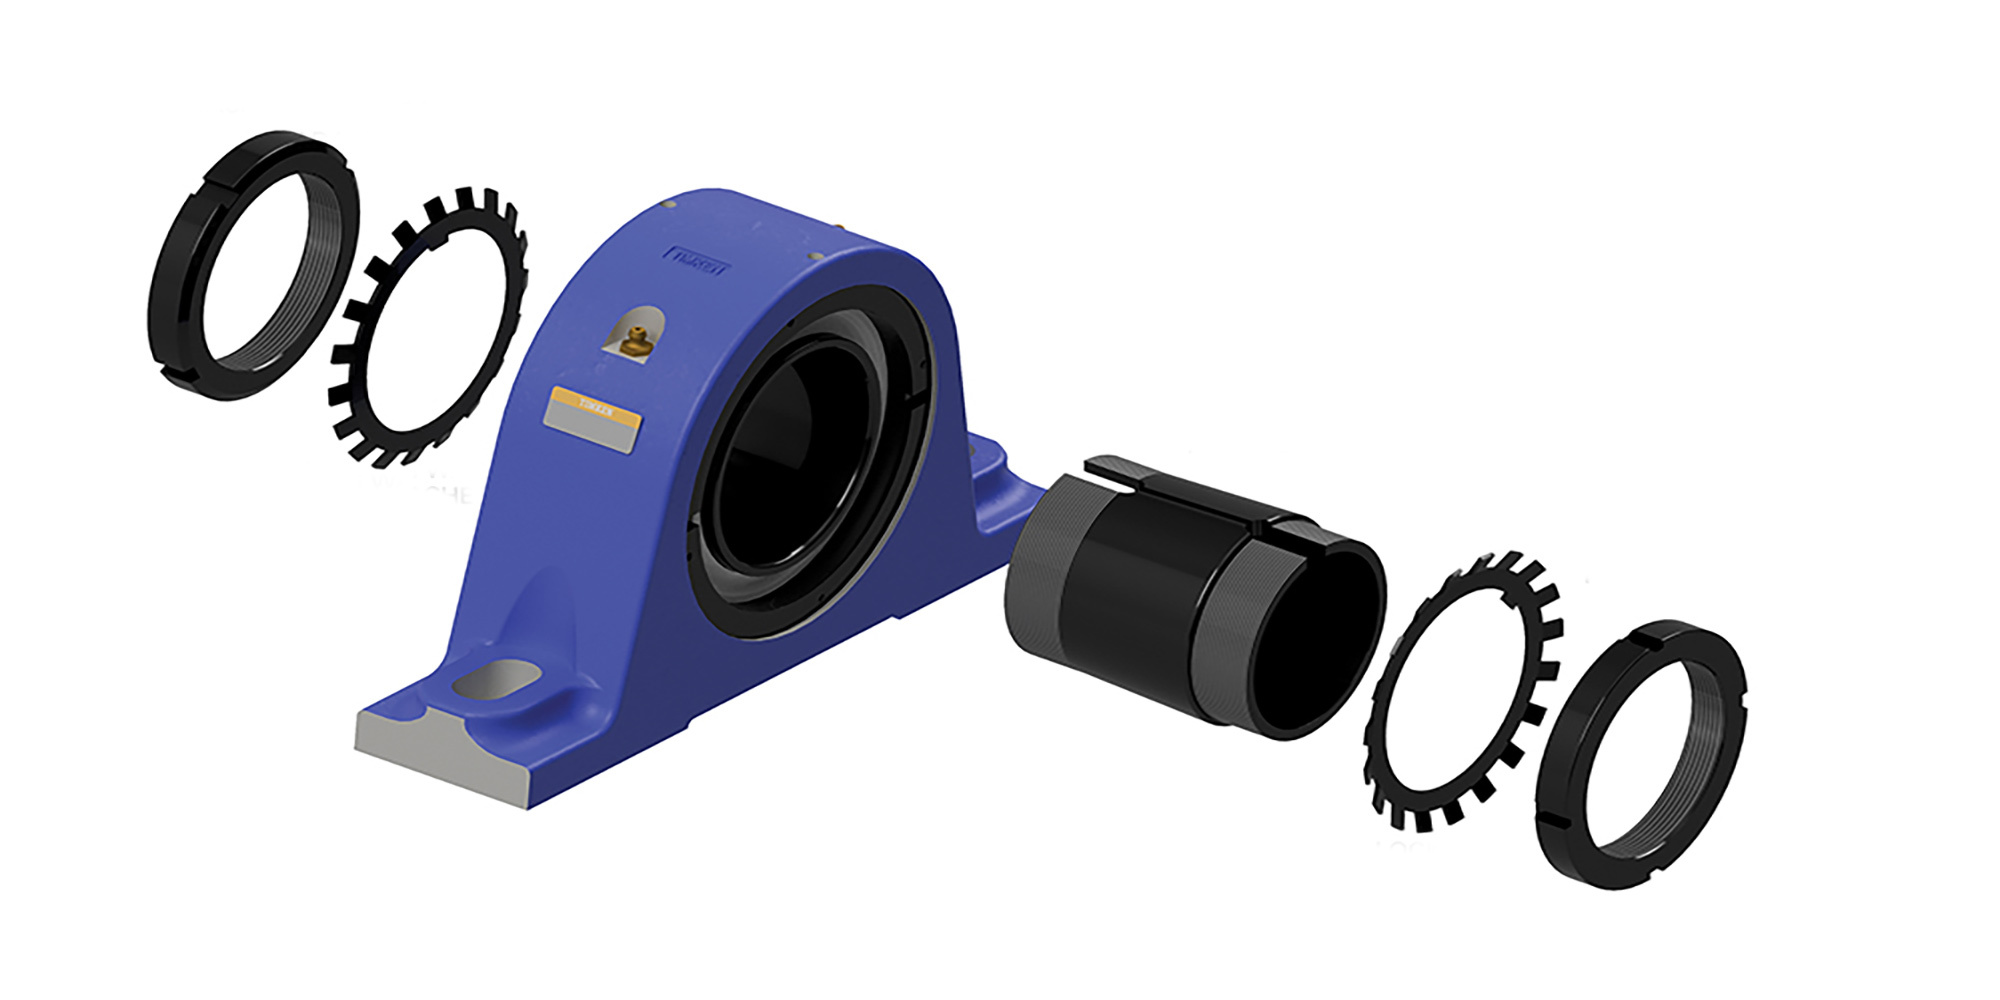
The eccentric locking collar secures the bearing to the shaft using an extended inner ring with an offset channel. This channel aligns with a matching channel in the collar, which fits over the inner ring extension.
The unit is secured by rotating the collar relative to the inner ring. This creates a clamping force that acts perpendicular to the shaft.
A setscrew is provided to keep the collar from loosening during occasional reverse rotation. However, this is only a precaution and does not make the assembly suitable for frequent bidirectional rotation.
Manufacturers recommend that eccentric locking collars should not be used in applications requiring rotation in both directions.
This requires a torque wrench or the "nut-turn" method. It ensures the bearing is pulled onto the taper enough to reduce internal clearance without over-tightening.
Pillow block bearings are commonly applied in situations where the shaft is mounted parallel to the supporting surface. The housing is usually made of cast iron or cast steel. Its bore centerline is positioned perpendicular to the shaft axis.
These bearings are designed to support rotating shafts. Cast iron or cast steel is used to provide the necessary strength and durability. The optimal pillow block bearing for a specific application depends on the combination of housing design and bearing type. Following the recommended selection and installation steps helps reduce downtime and extend service life.
First, examine the shaft to make sure it is clean, round, and straight, with no burrs or chips. Also, check that its diameter meets the manufacturer’s specified tolerances.
For high-precision applications, we recommend following the [h7 Precision Standards] to ensure a perfect fit.
Remove any rust using fine-grit sandpaper or emery cloth. Afterward, apply a light film of oil and wipe away any remaining debris.

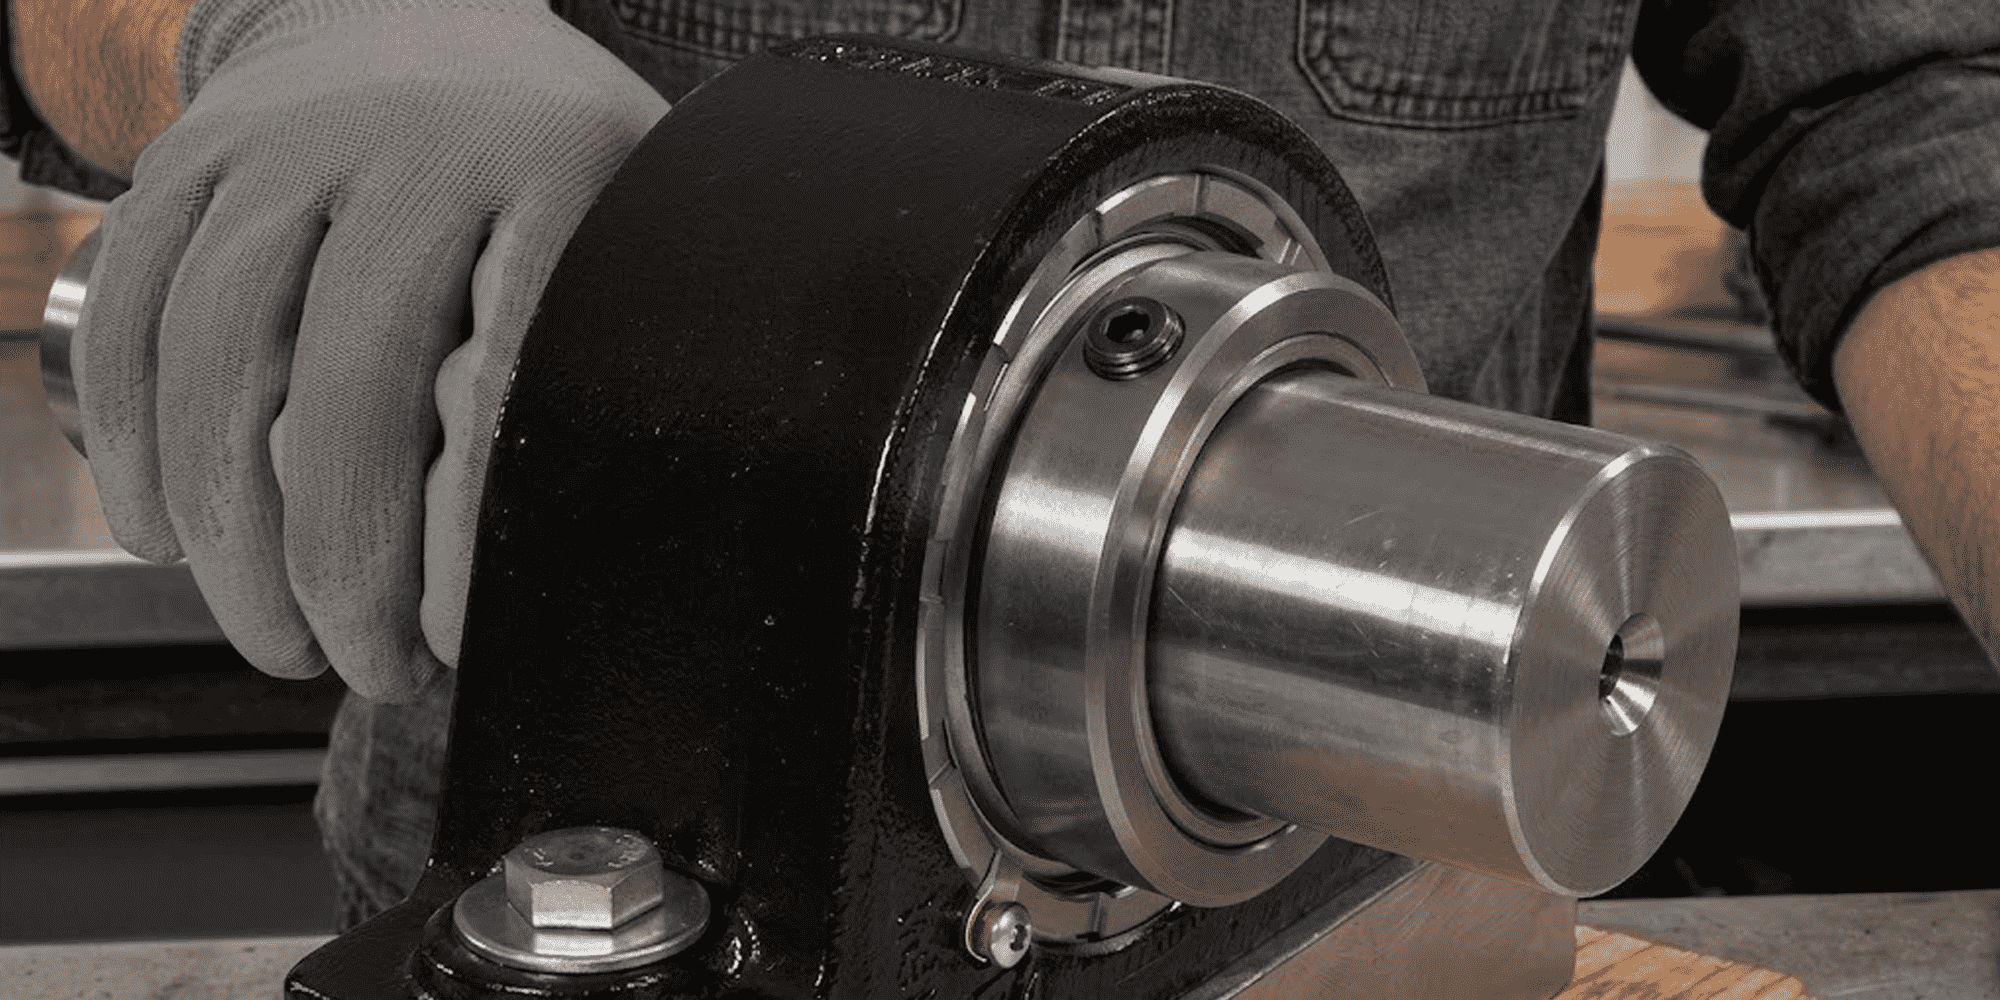
When mounting a pillow block bearing on a shaft, use a mallet along with a hardwood block or soft steel tube. Place it against the inner ring if light tapping is required. Avoid striking or applying force to the housing or the seals.

Place the shaft in position by lightly fastening the housing to the mounting surface. Use heavy-duty flat washers or heavy-duty spring lock washers to span the housing mounting slots. This can help reduce the risk of loosening.

Before fully tightening the bolts, position the bearing unit by hand or with a rubber mallet. This sets its final mounting position.

After the bearings are correctly aligned, fasten both units firmly to the mounting surface.

Ensure the shaft can slide axially through the bearing bore to verify correct alignment. If it cannot, loosen the housing and adjust the shaft alignment.

First, tighten the two collar set screws. Then rotate the shaft and alternately retighten them to the manufacturer’s specified torque. If a torque wrench is unavailable, use an Allen wrench to tighten the set screws until they are firmly twisted into place.

If an expansion unit is being used, first secure the fixed bearing. Then slide the expansion bearing axially to the center of its housing. Once centered, alternately tighten the set screws on the expansion unit. Follow the same procedure used for the fixed bearing.

Correct lubrication of ball bearing units is essential to achieve their maximum service life. Bearings should be re-lubricated at regular intervals, which will vary depending on the operating environment.
The table below offers a general guideline. Practical experience is needed to determine the optimal lubrication frequency for each specific application.
|
Operating Conditions |
Bearing Temperatures |
Grease Interval |
|
|
32F to 120F |
6-12 Months |
|
Clean |
120F to 150F |
1-3 Months |
|
|
150F to 200F |
1-4 Weeks |
|
Dirty |
32F to 150F |
1-4 Weeks |
|
|
150F to 200F |
Daily-1 Week |
|
Moisture |
32F to 200F |
Daily-1 Week |
The type and amount of lubricant used have a direct impact on bearing life. Insufficient lubrication can cause premature surface fatigue in the balls and races.
Over-lubrication can damage the seals. This allows contaminants to enter and shortens the bearing’s life. Excess grease can also create excessive friction, generating heat that may overheat the bearing.
When applying grease, do so gradually while the shaft is rotating. Once grease begins to appear at the seals, the bearing has received the proper amount of lubricant.
Bearings should not operate continuously above 200°F, and intermittent operation should not exceed 225°F.
Once installed, your job isn't over. Implement a "Predictive Maintenance" (PdM) schedule.
Common Signs of Trouble:
|
Symptom |
Potential Cause |
Fix |
|
Excessive Heat |
Over-lubrication or misalignment |
Check grease levels/alignment |
|
Vibration |
Loose setscrews or shaft damage |
Tighten locking mechanism |
|
Squealing Noise |
Metal-on-metal contact (dry) |
Lubricate immediately |
Installing a mounted bearing correctly ensures your machinery runs smoothly, reduces downtime, and saves money. Remember: Clean, Align, Torque, and Lubricate.
By following these steps, you’ll maximize the return on your hardware investment. You’ll also prevent the “catastrophic failures” that often occur in poorly maintained plants.
Lily Bearing offers a wide range of mounted bearings and guidance to help you make the best choice.
Quick Answer — 8 Steps Clean and inspect the shaft Slide the bearing into position Lightly bolt the housing down Set the final mounting...

In the world of machinery, mounted bearings play a pivotal role. They are integral to the smooth operation of various equipment across industries. ...
Mounted bearings play a crucial role in various machinery and equipment. These versatile components support a rotating shaft and are essential for a...