Home/
Blog/
Lazy Susan Hardware Kit: What's Included & How to Install

4 min read

Lazy Susan Hardware Kit: What's Included and How to Install It Right

Lazy Susan Hardware Kit: What's Included and How to Install It Right
Lazy Susan Hardware Kit: What's Included & How to Install
8:16

What's Actually in a Lazy Susan Hardware Kit

Typical kit contents

INCLUDED Turntable bearing Steel plates + ball bearings Mounting screws Wood screws for bearing holes 📄 Installation instructions Printed or QR code NOT INCLUDED ✗ Drill bit (5/32" or 3/16") ✗ Countersink bit ✗ Speed nuts ✗ Turntable tray or shelf Knowing this before you start means one hardware store trip, not three.

The Two Plates, Explained

A lazy susan bearing is two concentric steel plates that rotate independently.

Understanding which plate does what prevents the single most common installation error: mounting both plates to the same fixed surface.

Top plate Fixed to the rotating surface (tray, shelf, display platform) Bottom plate Fixed to the base structure Small holes (inner ring) Drilling guides for top plate screws All bearing sizes Large access holes (outer ring) Reach through to drive top-plate screws 9" and 12" bearings only
 

Screw Specifications and Load Ratings by Bearing Size

The table below covers everything you need before drilling a single hole: load capacity, pilot hole size, screw number, and whether a detent stop is available.

Screw length is not fixed — it depends on your material thickness.

The rule: at least 2/3 the depth of the board, without penetrating through the opposite face.

Always do a one-screw test assembly before committing to all holes.

Bearing Load Capacity Pilot Hole Screw Countersink? Detent
3" 200 lbs 5/32" #6 If flat-head No
4" 300 lbs 5/32" #6 If flat-head No
6" 500 lbs 5/32" #6 If flat-head No
9" 750 lbs 3/16" #8 If flat-head Yes (1 or 8)
12" 1,000 lbs 3/16" #8 If flat-head Yes (4)

For #10 flat head screws: countersink each hole so the screw head sits flush. A protruding screw head will contact the bottom plate during rotation — the bearing will bind or scratch on every turn.

Tools You'll Actually Need

Power drill / drill press Required Drill bits 5/32" or 3/16" Countersink bit If using flat-head screws Pencil / marking awl Mark hole locations Screwdriver / driver bit Match to your screw head Clamps Optional — keeps assembly square Pro tip Pick up speed nuts separately — kits almost never include them. They make top-plate attachment far easier to disassemble later.

Step-by-Step Installation


For 3", 4", and 6" Bearings

1 Test assembly first Drive one screw by hand to confirm it clamps without bottoming out. 2 Mark your holes Place bearing on tray (top plate face down). Use small holes as template. 3 Drill pilot holes — 5/32" bit Drill straight. Angled holes cause screws to walk and plate to sit uneven. 4 Mount bearing to tray Drive #6 screws through top plate. Don't overtighten. 5 Lubricate (optional, recommended) Light grease on ball race reduces noise. Skip for dry/clean environments. 6 Flip, position on base, mark holes Mark bottom plate hole locations onto base surface. 7 Drill and drive into base 5/32" pilots, then #6 screws through bottom plate. 8 Test rotation Spin the tray. Even drag = good. Binds at one point → check for proud screw heads.

For 9" and 12" Bearings

The larger access holes on 9" and 12" bearings change the installation sequence — you mount the bearing to the base first, then attach the turntable through the access holes.

1 Determine screw length Turntable and base are often different materials with different depths. 2 Mount bearing to base first Mark with large access holes. Drill 3/16" pilots, drive #8 screws. 3 Pre-drill the turntable plate Use inner small holes as guides. Drill 3/16" pilot holes. 4 Position turntable over bearing Align top plate holes with pre-drilled turntable holes. 5 Drive screws through access holes Use right-angle driver or long screwdriver. Drive #8 screws from below. 6 Test rotation Check that all screws are fully seated before final use.

Using Speed Nuts (The Better Option for Top Plate Attachment)

Speed nuts — small, spring-steel clip nuts — are an underused installation trick.

Instead of countersinking flat-head screws into the turntable, you press speed nuts onto #10 flat-head screws from above, insert them through the top plate holes, and the spring tension holds them in place during installation.

Two advantages over countersunk flat-head screws

1. Easier disassembly if you ever need to replace the bearing.

2. No countersinking required on the turntable surface.

Speed nuts are rarely included in standard lazy susan hardware kits. Buy them separately at any hardware store — they're inexpensive and worth having on hand.

The Most Common Installation Mistakes

1 Screws that bottom out before clamping A standard 3/4" wood screw often bottoms out before clamping. Test screw length first. 2 Not countersinking flat-head screws Even 0.5mm of protrusion causes clicking, grinding, or binding on every rotation. 3 Skipping the pilot hole Hardwood and MDF will split or strip without a pilot hole. The 30 seconds saved isn't worth it. 4 Mounting both plates to the same surface Bottom plate → fixed base. Top plate → rotating surface. No other configuration works. 5 Choosing a bearing too small for the load 3" = 200 lbs max. 9" = 750 lbs max. 12" = 1,000 lbs max. Overloading deforms ball races. Always add a 25–30% safety margin to your estimated load.

When to Buy a Kit vs. Components Separately

Kits make sense for single-project, standard-size installations (3"–12" steel bearings) where the included screws match your material.

They're cost-effective and convenient.

Buy components separately when:

  • You're installing multiple bearings and need bulk screws
  • Your material thickness requires non-standard screw lengths
  • You need speed nuts (almost never included in kits)
  • You're specifying precision aluminum bearings (ASL series) — these are generally sold as individual bearing units without a kit, and screw patterns follow metric bolt-circle dimensions

For guidance on selecting the right bearing size and load rating before buying a kit, see our lazy susan hardware selection guide.

Frequently Asked Questions

What size screws come in a standard lazy susan hardware kit?

Most kits include #6 wood screws for 3"–6" bearings and #8 screws for 9"–12" bearings. Always verify the screw length against your material thickness before installation — the included screws may not match your specific application.

Can I install a lazy susan bearing without a drill?

Not recommended. Without pilot holes, screws are likely to split wood or strip before seating. A basic cordless drill with a 5/32" bit is the minimum required tool for a reliable installation.

Why does my lazy susan click or bind after installation?

The most likely cause is a screw head sitting above the plate surface, contacting the opposing plate during rotation. Check every screw — even one that's 0.5mm proud can cause the symptom. The second most common cause is debris caught in the ball race; remove the bearing, clean the race, and reinstall.

Do I need to lubricate the bearing before installing?

For greased bearings (marked "CG"), no — they arrive pre-lubricated. For ungreased bearings in high-use applications (restaurant tables, retail displays), applying a small amount of bearing grease before final assembly extends service life and reduces noise.

How do I know if my lazy susan hardware kit includes the right bearing for my load?

Check the load capacity on the product spec sheet. 3-inch bearings handle up to 200 lbs; 12-inch bearings handle up to 1,000 lbs. Add a 25–30% safety margin to your estimated load before selecting. If your kit doesn't specify a load rating, that's a red flag — buy from a supplier that publishes full specifications.

Slewing Bearing Torque: What It Is, How to Calculate It & Key Factors

Slewing Bearing Torque: What It Is, How to Calculate It & Key Factors

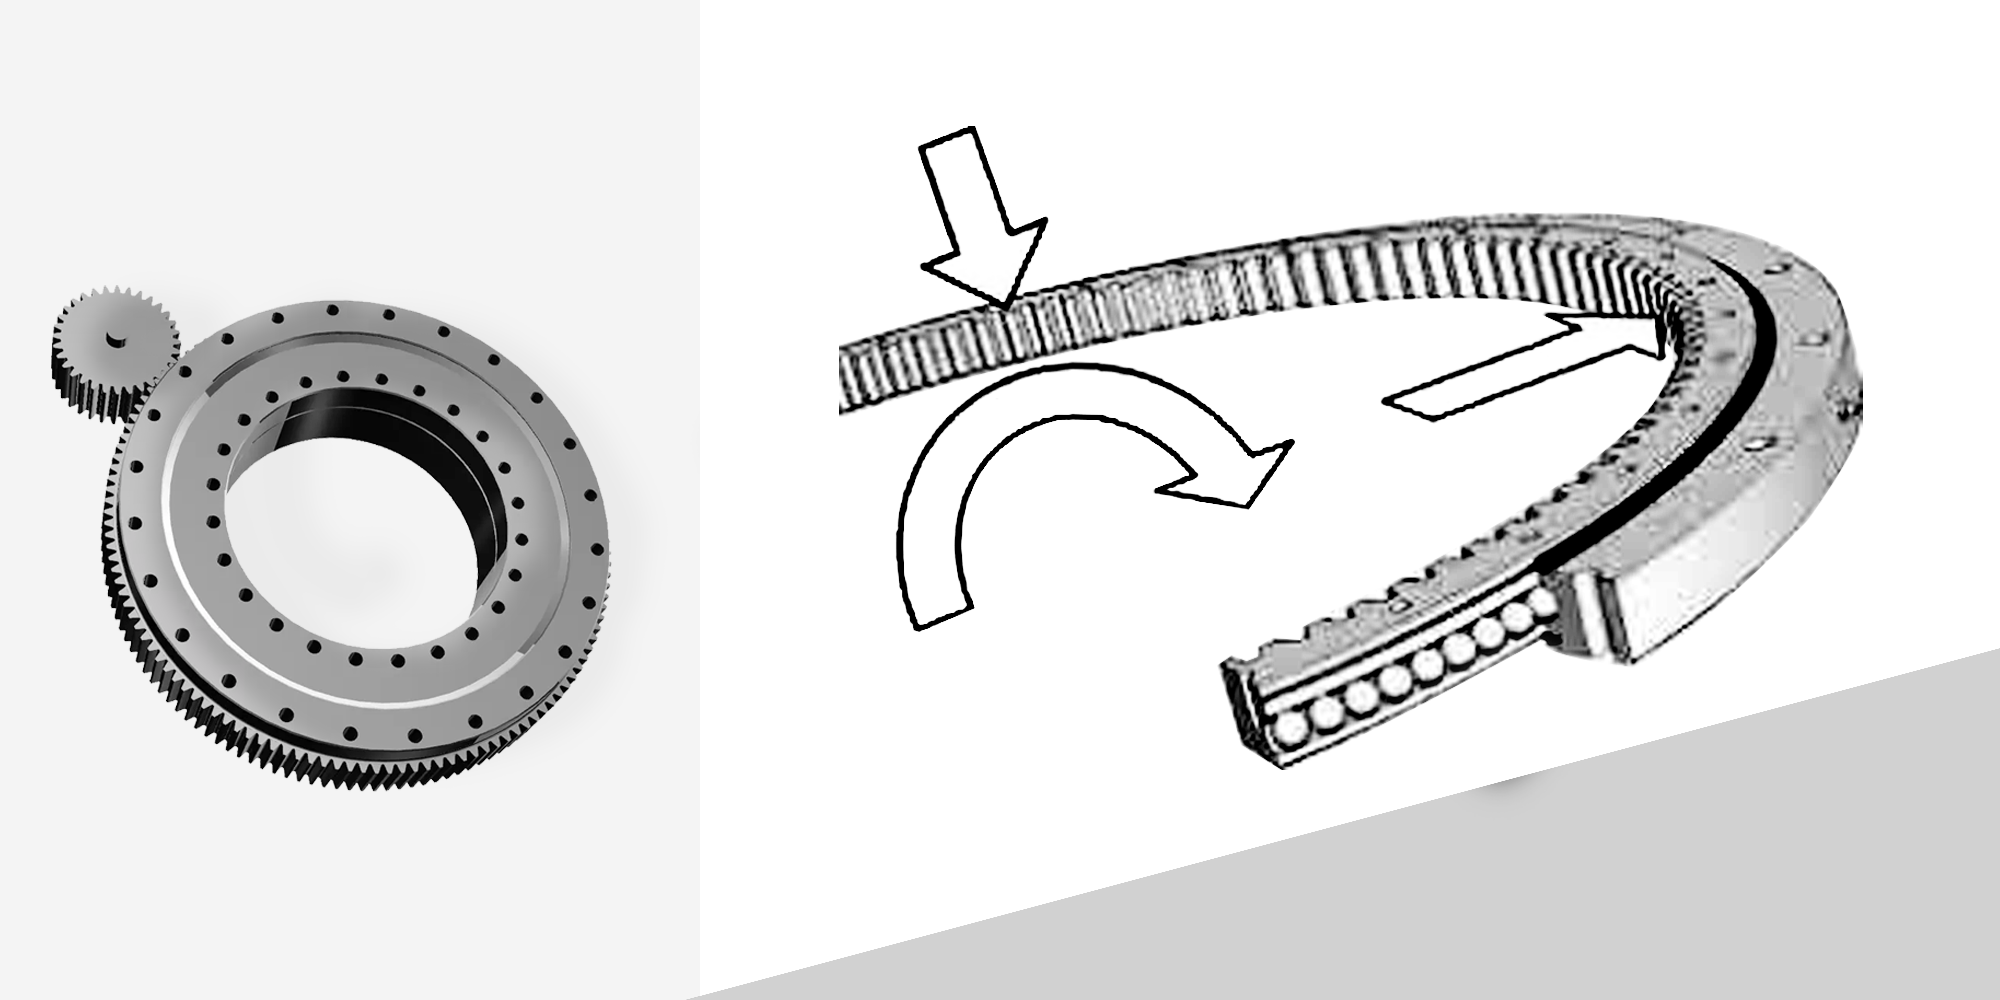
Slewing bearings handle some of the most demanding rotational loads in engineering — crane jibs, wind turbine nacelles, excavator upperstructures. ...

Read More
How to Remove a Bearing: Methods and Tips

How to Remove a Bearing: Methods and Tips

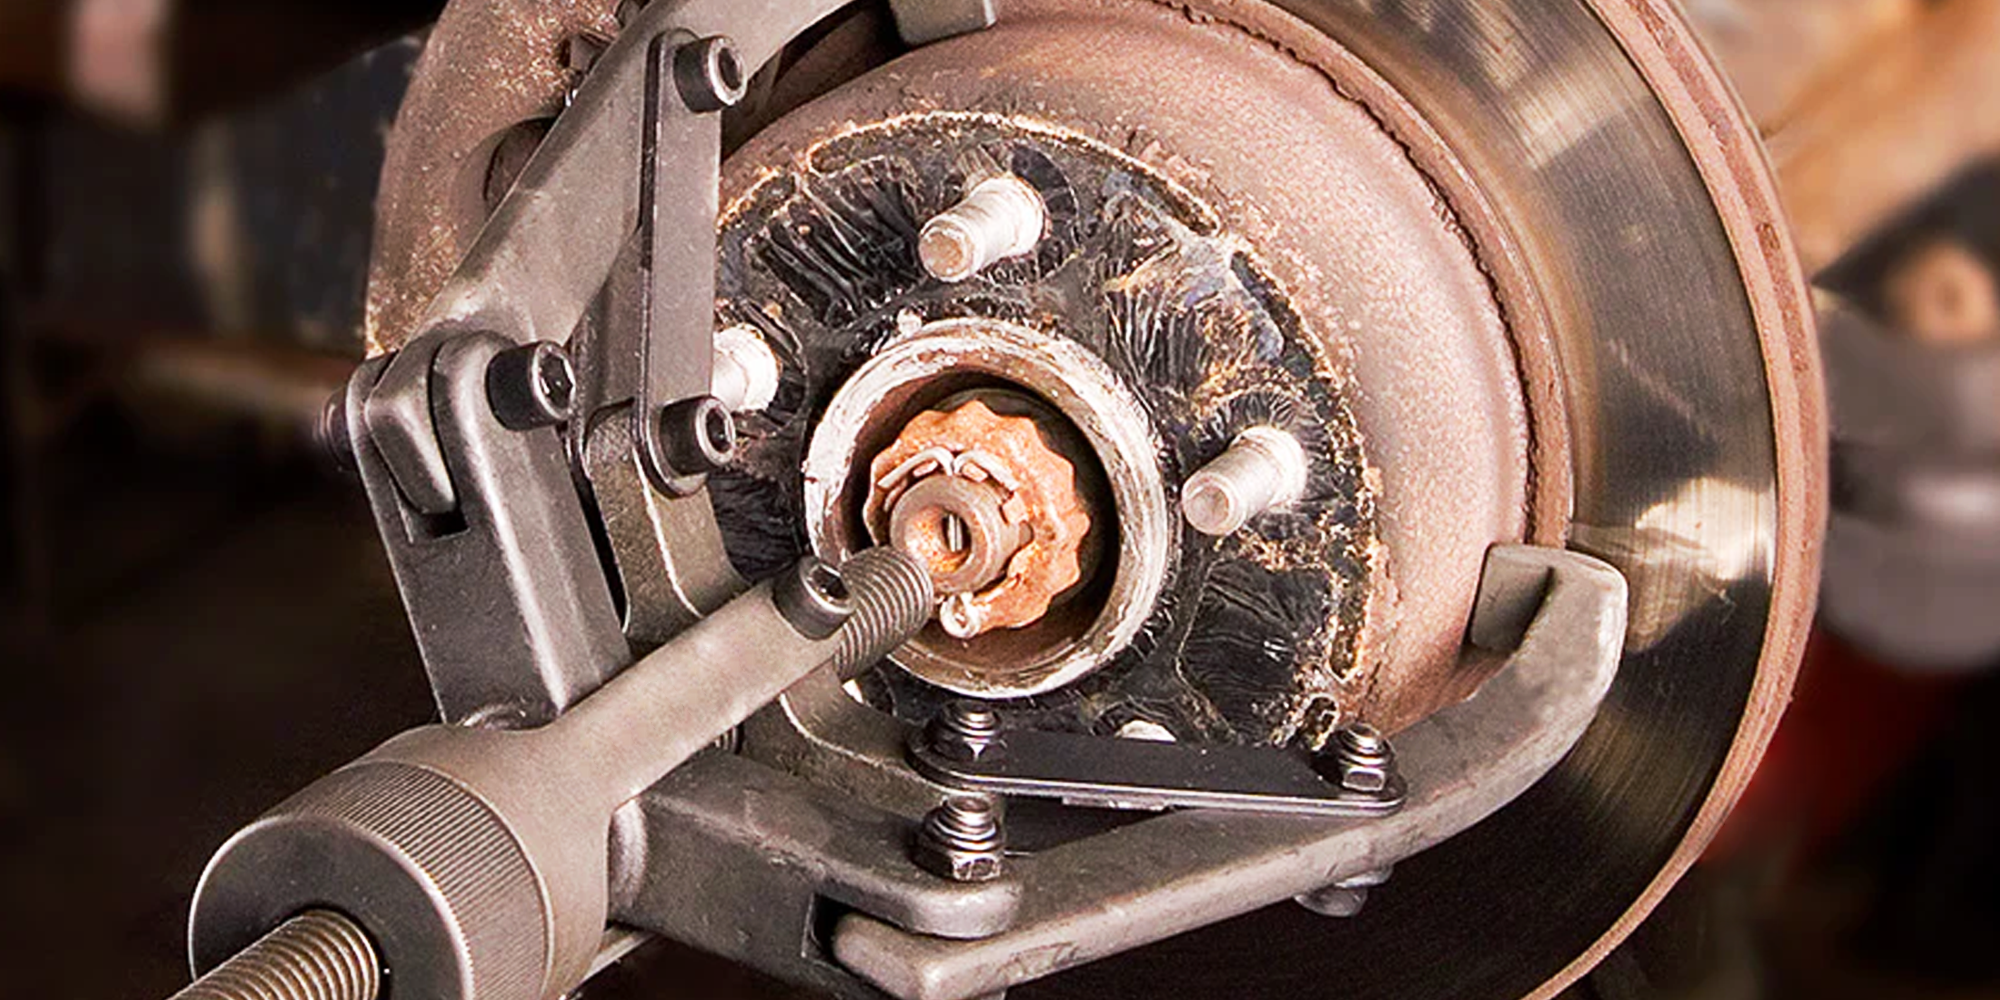
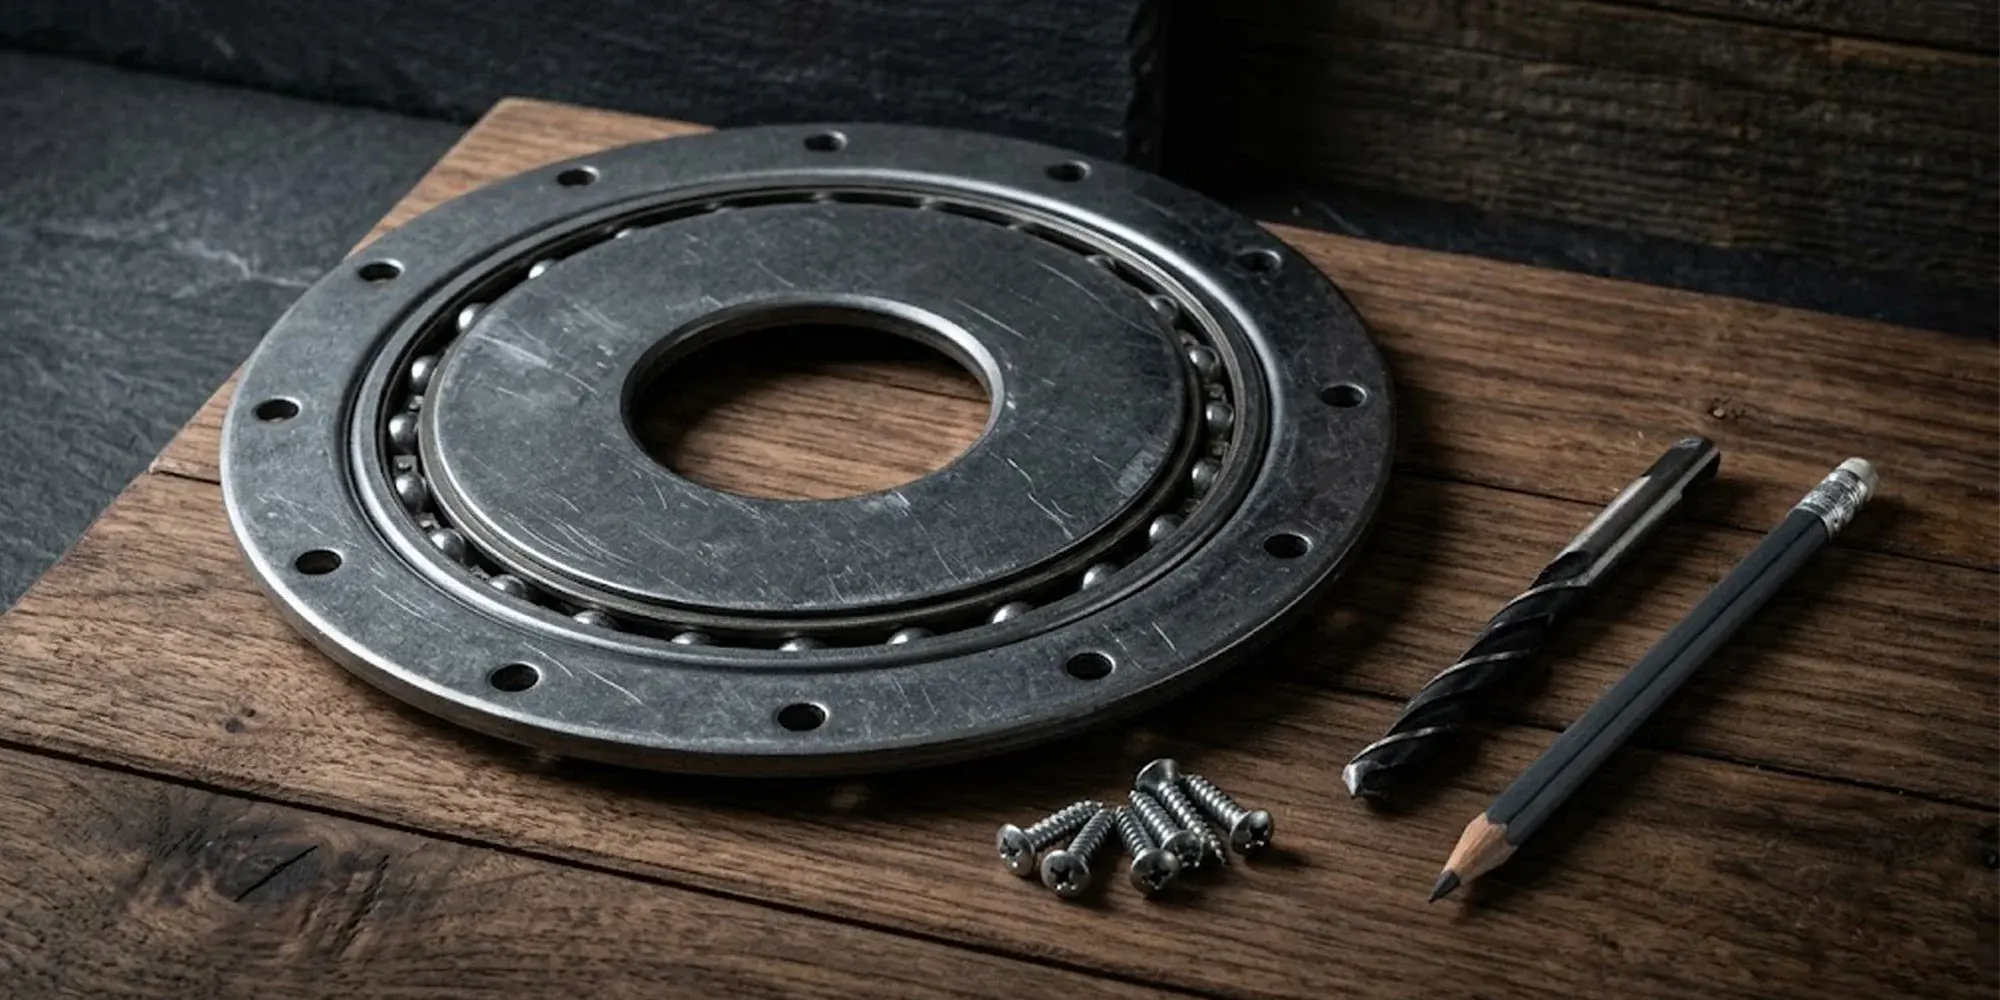
Removing a bearing from machinery is a critical task that can influence the longevity and performance of both the bearing and the equipment itself. ...

Read More
How to Read a Bearing Size Chart + Free Dimension Reference Tables

How to Read a Bearing Size Chart + Free Dimension Reference Tables

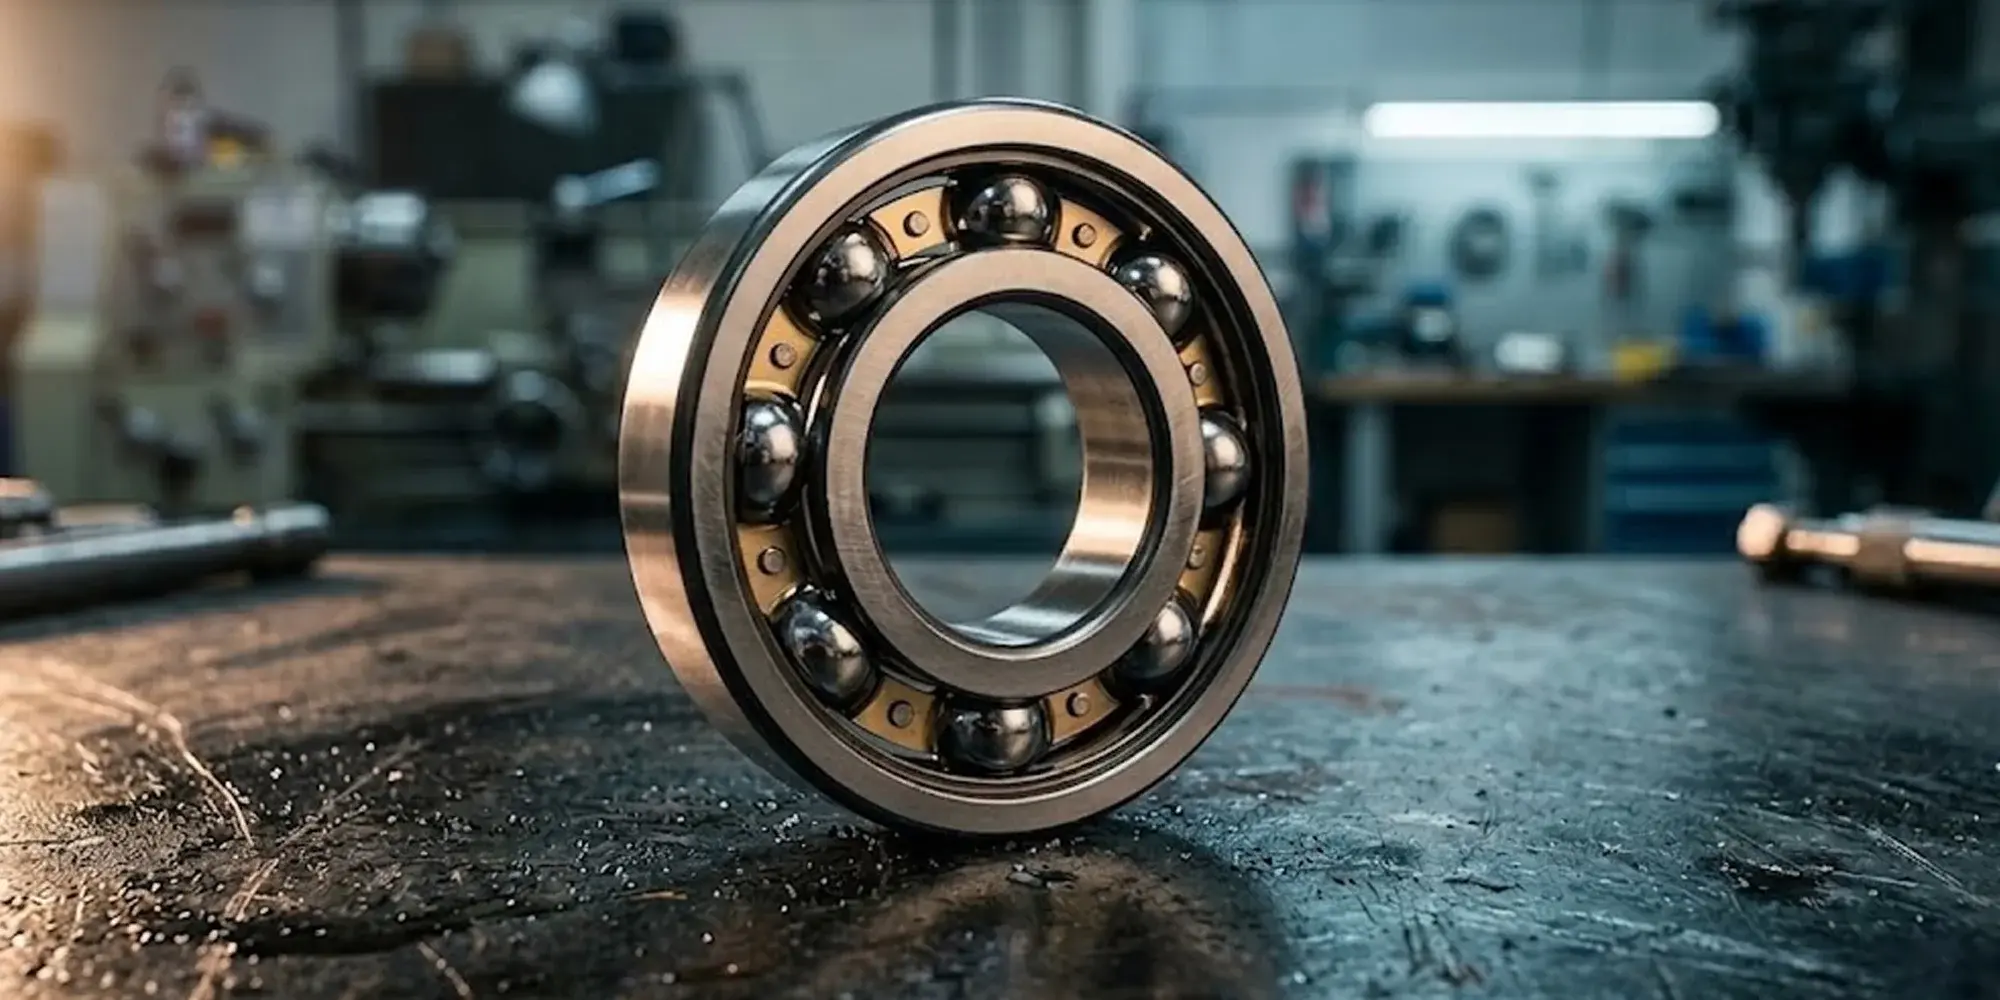
Bearing size charts are not complicated once you know the logic. The numbers follow a fixed pattern — and once you get one bearing number right,...

Read More