

Cancel
How Hard Is It To Repair Alternator Bearing By Yourself
By Bearing Manufacturer>Bearing News>How hard is it to repair alternator bearing by yourself ?
?2004-2012
Repairing the alternator bearings on your car, can be an arduous work. You must be disassembled and reassembled after unloaded . If you want to save a little money, following these tips to help you solve the alternator bearings.
Disassemble the Alternator bearings
Disassemble the Alternator bearings step1.Make a note of the "clock" position of the alternator. This is the front to back way it is housed in the engine. Remember it for when you re-assemble the alternator bearings.
Disassemble the Alternator bearings step2.Separate the drive end frame assembly from the ring end frame by taking out the 3 thru-bolts. Leave the stator in the back housing. Remove the drive end frame from the rotor. Put the rotor in a hex wrench to remove the shaft nut.
Disassemble the Alternator bearings step3.Disassemble the slip ring end frame. Press out the cover pins. Take off the cover. Slice off the leads attached to the rectifier bridge terminals and take out the stator. Poke out the baffle pins and take out the baffle.
Disassemble the Alternator bearings step4.Take off the fasteners to lift out the brush holder, rectifier bridge and the regulator from the end frame and disconnect.
Repair and Reassemble the Alternator bearings
Repair and Reassemble the Alternator bearings step1.Repair the rectifier bridge. The rectifier fails more than any other component on the alternator slot bearings . Connect an ohmmeter at a low scale to heat sink from bridge terminals. Then reverse the connections. If both readings are identical, replace the rectifier bridge.
Repair and Reassemble the Alternator bearings step2.Clean the brush holder with a soft dry cloth unless the brushes are really damaged then replace the entire brush assembly component.
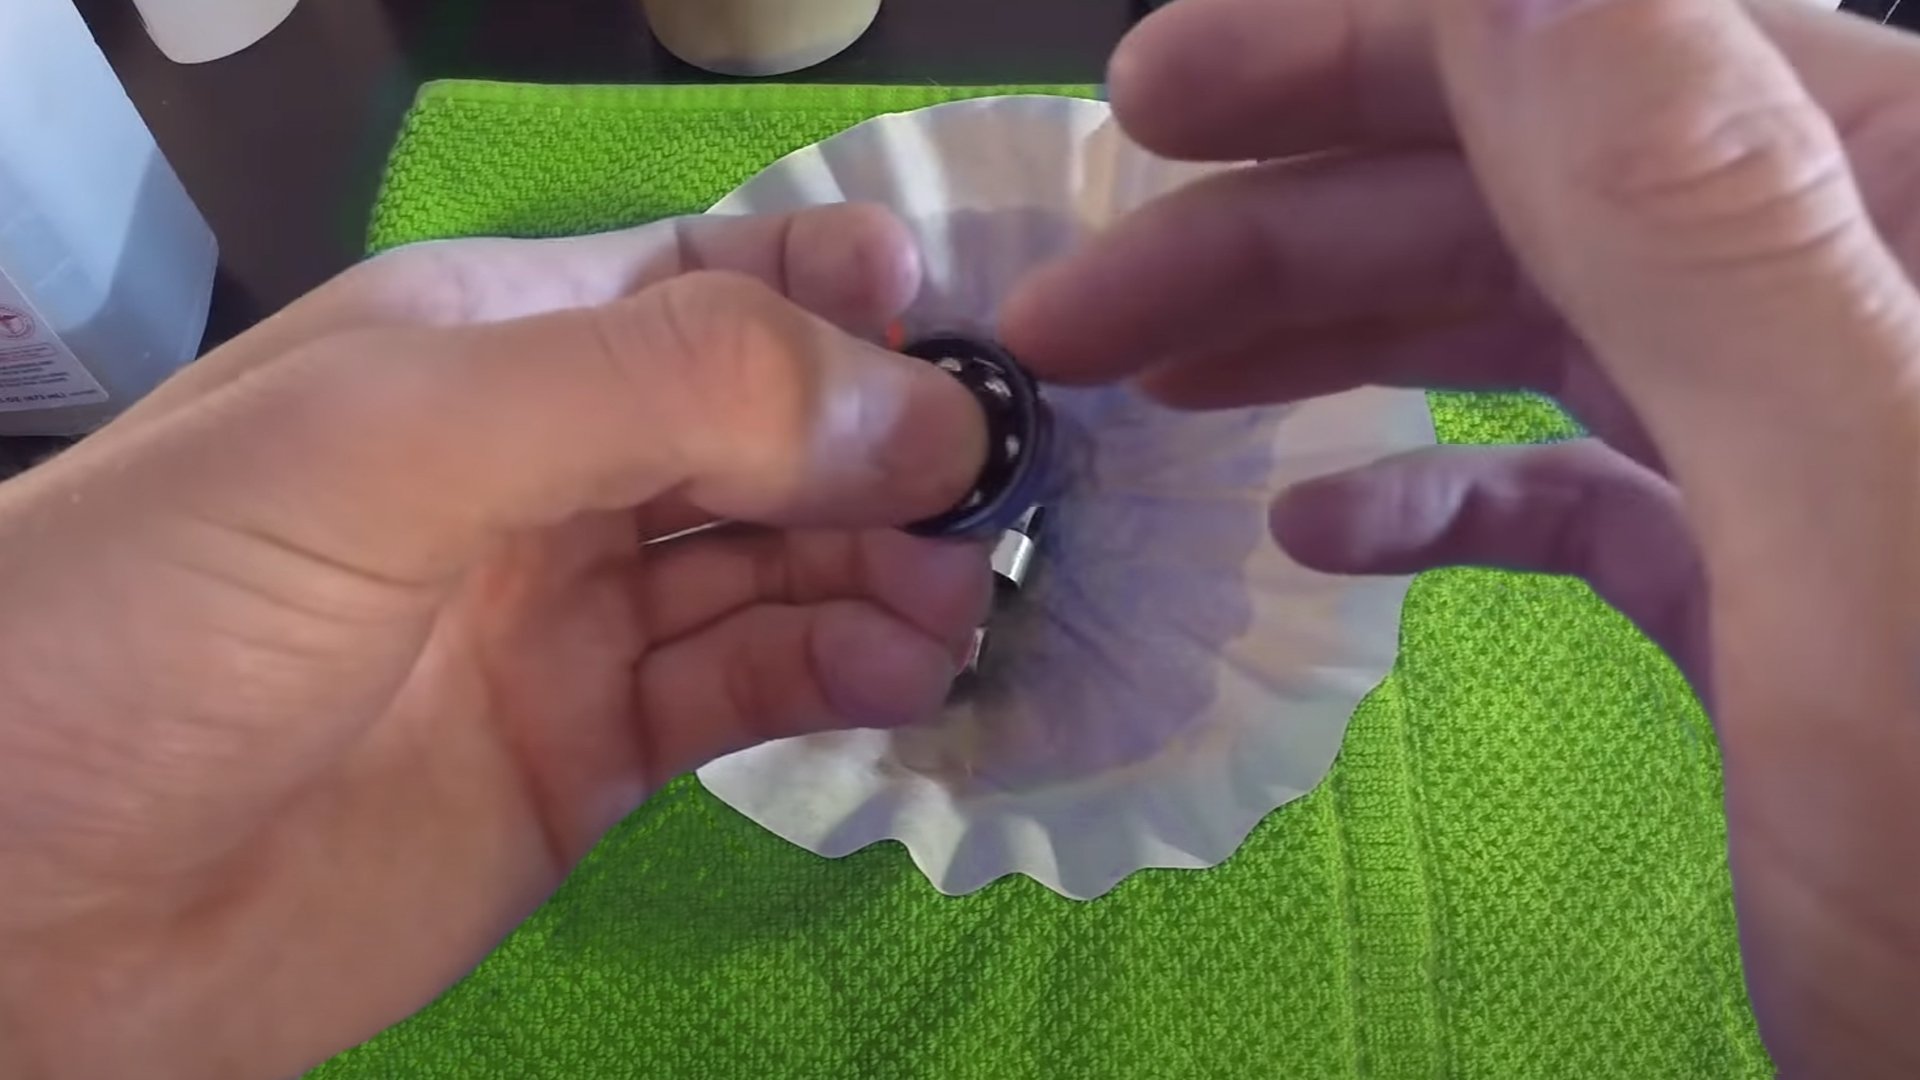
Repair and Reassemble the Alternator bearings step3.Spin the rotor by hand to clean the slip rings. Press a fine polishing cloth against the rings while it turns.
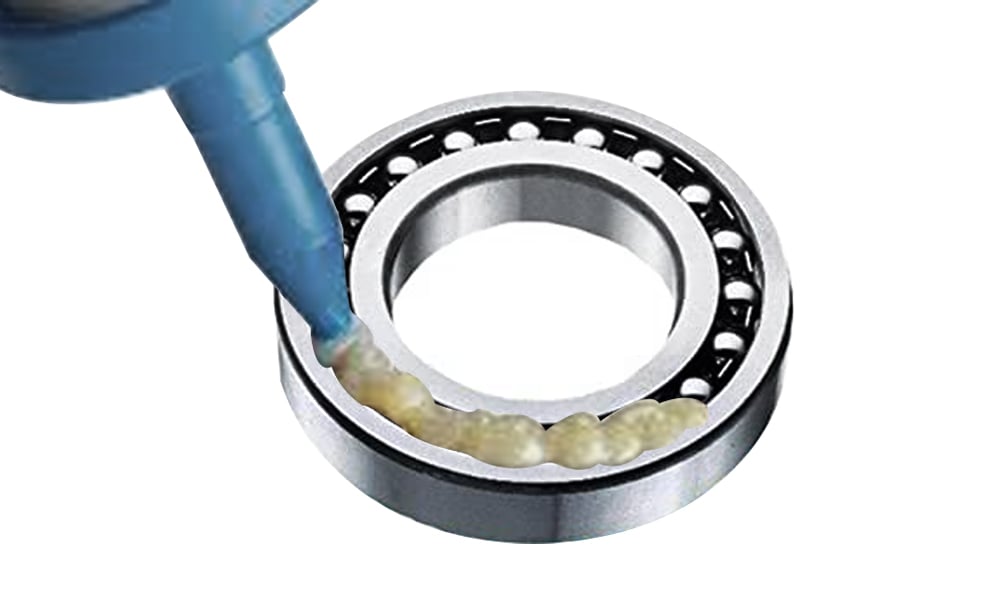
Repair and Reassemble the Alternator bearings step4.Push on outside of the bearing assembly to replace it. Push until it slips to the bottom of the frame. Solder the connectors back as they were originally.
Repair and Reassemble the Alternator bearings step5.Replace the cleaned brushes in holder and pin them in. Use some kind of electrical contact transfer grease on the end frame casting under the rectifier bridge to dissipate the heat.
Repair and Reassemble the Alternator bearings step6.Reassemble all the parts. Tap down on the inner and outer race of the slip ring end flange ball bearing to join both of the end frames. Replace the thru-bolts.
CATEGORIES
- Miniature Bearings(2)
- Thin Section Bearings(1)
- Ceramic Bearings(7)
- Stainless Steel Bearings(3)
- Needle Roller Bearings(3)
- Spherical Roller Bearings(1)
- Thrust Ball Bearings(2)
- Roller Bearings(1)
- Tapered Roller Bearings(2)
- Slewing Ring Bearings(2)
- Angular Contact Ball Bearings(1)
- Sleeve Bearings(1)
- Others(44)
- Low Temperature Bearings(1)
- Ball Bearings(9)
- Bearing Load(4)
- Bearing Components(1)
- Types of Bearings(4)
- Thrust Bearings(1)
- Bearing Technical Knowledge(20)
- Aerospace Bearings(2)
- Polyurethane Rollers(2)
- Cam Follower(3)
- Linear Bearings(1)
- Spherical Bearings(1)
LATEST ARTICLES
-
 The Impact of Counterfeit Bearings On the Industry and How to Avoid Them
 -
 Chrome Steel vs. Stainless Steel Bearings: Which Do You Need?
 -
 Magnetic Bearings: What They Are & How They Work
 -
 Expert Tips On Installing & Removing Bearings for Industry Professionals
 -
 How Much Grease to Put in Bearings: A Comprehensive Guide
 -
 How to Clean Ceramic Bearings?